When that craving hits for something salty, crispy, and utterly satisfying, there’s nothing quite like a perfectly executed onion ring. I’ve spent countless hours, and probably just as many calories, on a quest for the ultimate crunchy bite. Forget flimsy excuses for fried onions; we’re talking about golden-brown masterpieces, each bite delivering that delightful CRUNCH followed by a sweet, tender onion. Today, I’m thrilled to share the fruits of my labor – my top 5 picks for the absolute best onion rings out there. Prepare to have your snack game upgraded!
Why You’ll Love This Dish (Or Rather, These Dishes!)
You might be thinking, “Onion rings? Really? Aren’t they all pretty much the same?” Oh, how wrong you’d be! Just like there’s a world of difference between a gourmet burger and a fast-food patty, there’s an art to crafting an exceptional onion ring. My picks aren’t just about the crunch; they’re about the balance of flavors, the quality of the onion, and the perfect batter-to-onion ratio.
What makes these particular onion rings special? For starters, they each offer a unique texture – some with a delicate, lacy coating, others with a robust, satisfying crunch. The onions themselves range from subtly sweet to boldly flavorful, always cooked through but never mushy. These aren’t just sides; many of them are stars in their own right, perfect for a spontaneous treat, a movie night indulgence, or as the ultimate accompaniment to your favorite burger or sandwich. Forget sad, greasy rings; these options promise pure, unadulterated joy in every golden bite.
> “I thought I knew onion rings until I tried #3 on this list. Mind. Blown. The crispiness is next level!” – A happy snacker
The Cooking Process Explained (If You Were to Make Them Yourself!)
While my picks are all about places you can buy incredible onion rings, understanding what goes into a truly great ring helps appreciate them even more. Essentially, the process involves selecting the right type of onion (usually a sweet or yellow onion), slicing it uniformly, and separating the rings. The magic, however, lies in the batter. A good batter clings well, fries up light and crispy, and doesn’t get soggy too quickly.
Typically, the onion rings are submerged in a liquid (often buttermilk or milk) to help the flour adhere, then dredged in a seasoned flour mixture, or dipped into a wet batter. Some recipes even call for a double-dip for extra crunch! Finally, they are carefully fried in hot oil until golden brown and delicious. The key is consistent oil temperature and not overcrowding the fryer, which can lead to greasy, limp results. It’s a simple concept, but the execution needs precision for perfection.
What You’ll Need (For the Hypothetical Perfect Homemade Batch)
While we’re exploring my top 5 picks you can go out and enjoy, if you ever wanted to replicate that magic at home, here’s what you’d typically need:
Key Ingredients:
- Large Sweet Onions or Yellow Onions: Essential for their mild flavor and ability to hold shape.
- All-Purpose Flour: The base for your coating.
- Cornstarch or Baking Powder: Often added to batter for extra crispiness.
- Seasonings: Salt, black pepper, paprika, garlic powder – customize to your taste.
- Milk or Buttermilk: For a dairy-based batter, or to help flour adhere.
- Eggs: Sometimes used as a binder in batters.
- Cold Water or Sparkling Water: For a lighter, crispier batter.
- Neutral Oil for Frying: Vegetable oil, canola oil, or peanut oil are good choices for high-heat frying.
Directions to Follow (For a Dreamy Homemade Version)
Again, this is if you’re feeling ambitious in your kitchen!
- Prep the Onions: Peel and slice your onions into 1/4 to 1/2-inch thick rings. Carefully separate each ring. For extra crispiness, you can soak them in ice water for 30 minutes, then drain and pat very dry.
- Set Up Dredging Stations: In one bowl, whisk together your dry ingredients (flour, cornstarch/baking powder, salt, pepper, spices). In another bowl, combine your wet ingredients (milk, egg if using, sparkling water).
- Heat the Oil: Pour about 2-3 inches of oil into a deep pot or Dutch oven and heat to 350-375°F (175-190°C). Use a thermometer for accuracy.
- Batter the Rings: Working in small batches, dip an onion ring into the wet mixture, letting any excess drip off. Then, dredge it thoroughly in the dry flour mixture, ensuring it’s completely coated. For a thicker crust, dip it back into the wet, then dry again.
- Fry to Golden Perfection: Carefully place 4-6 battered onion rings into the hot oil, ensuring not to overcrowd the pot. Fry for 2-4 minutes, flipping once, until they are beautifully golden brown and crispy.
- Drain and Season: Remove the fried rings with a slotted spoon or spider and place them on a wire rack set over paper towels to drain excess oil. Immediately sprinkle with a little extra salt. Enjoy hot!
Best Ways to Enjoy These Picks
My top 5 onion rings are fantastic on their own, but they also shine when paired correctly.
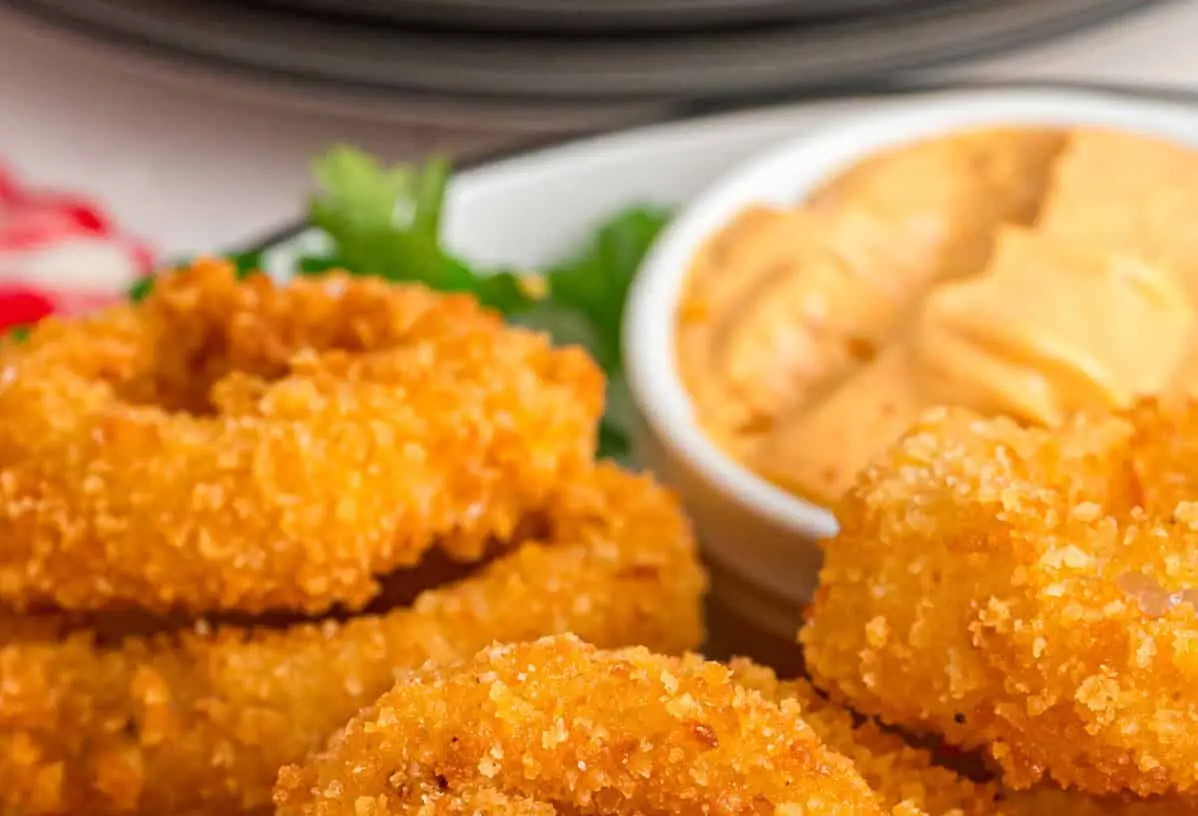
- Classic Dipping Sauces: Ketchup is a given, but don’t stop there! Try a zesty homemade aioli, a spicy sriracha mayo, a creamy ranch, or even a tangy BBQ sauce. The right dip can elevate the experience.
- Burger’s Best Friend: A juicy burger practically begs for a side of crispy onion rings. They offer a textural contrast that fries sometimes just can’t match.
- Sandwich Sidekick: From a deli sandwich to a grilled cheese, onion rings make any lunch feel more substantial and indulgent.
- Unexpected Topping: Crumble a few of these crispy rings over a green bean casserole, a chili bowl, or even a salad for an amazing textural crunch twist!
Keeping Leftovers Fresh (If There Are Any!)
Let’s be honest, leftover onion rings are a rarity in my house! But if you do find yourself with a few lonely rings, proper storage can make reheating more successful.
- Storage: Once completely cooled, store them in an airtight container in the refrigerator for up to 2-3 days. Avoid stacking them too tightly, as this can lead to sogginess.
- Reheating: The key to reviving crispiness is dry heat. Avoid the microwave! Preheat your oven or toaster oven to 350-375°F (175-190°C). Arrange the cold onion rings in a single layer on a baking sheet and bake for 5-10 minutes, or until heated through and crisp again. An air fryer also works wonders here, usually at 350°F for 3-5 minutes.
Helpful Cooking Tips (For Your Own Onion Ring Adventures)
Even when you’re just enjoying my top picks, there are always ways to elevate your onion ring game if you ever want to make them yourself!
- The Right Onion Matters: Sweet Vidalia or Walla Walla onions are fantastic for their mild flavor, which sweetens beautifully when fried. Yellow onions also work well. Avoid red onions, as their flavor can be too strong.
- Uniform Slices: This is crucial for even cooking. An onion ring slicer can be a handy tool, or just practice your knife skills for consistent 1/4 to 1/2-inch thickness.
- Dry Onions are Happy Onions: After slicing and separating, pat your onion rings very dry before coating. Excess moisture can lead to a less crispy result and cause oil to splatter.
- Don’t Overcrowd the Pot: Frying in small batches is non-negotiable. Overcrowding cools down the oil, leading to greasy, soggy rings. Patience is a virtue here!
- Maintain Oil Temperature: Use a deep-fry thermometer to keep your oil between 350-375°F (175-190°C). Too cool, and they’re greasy; too hot, and they burn before cooking through.
Creative Twists (For the Daring Onion Ring Aficionado)
While my top 5 picks are fantastic as-is, here are some fun ideas if you ever want to customize your onion ring experience:
- Spicy Kick: Add a pinch of cayenne pepper or smoked paprika to the flour coating for a little heat and depth of flavor.
- Cheesy Rings: After frying, a quick sprinkle of finely grated Parmesan cheese while they’re still hot adds a salty, umami kick.
- Herbaceous Delight: Mix finely chopped fresh herbs like rosemary or thyme into your dry batter mix for an aromatic touch.
- Beer Batter Magic: For a lighter, crispier, and subtly yeasty flavor, replace some of the liquid in your batter with a light beer or lager.
- Garlic Lover’s Dream: A generous amount of garlic powder in the batter, perhaps alongside a garlic aioli, makes for an unforgettable garlic onion ring experience.
Common Questions About Onion Rings
FAQ: How do you prevent onion rings from getting soggy?
The key to preventing sogginess lies in several factors: maintaining consistent oil temperature (around 350-375°F or 175-190°C), not overcrowding the fryer, and ensuring the onion rings are well-drained on a wire rack after frying. A good batter that includes a leavening agent like baking powder or a touch of cornstarch can also help create a crisper, longer-lasting crust.
FAQ: What’s the best type of onion for onion rings?
Sweet onions, such as Vidalia, Walla Walla, or Texas Supersweet, are generally considered the best for onion rings. Their mild, sweet flavor caramelizes beautifully when fried, providing a lovely contrast to the savory, crispy coating. Yellow onions are also a good, readily available alternative.
FAQ: Can I make onion rings gluten-free?
Absolutely! To make onion rings gluten-free, simply substitute all-purpose flour in the batter and dredging station with a good quality gluten-free all-purpose flour blend. Many blends are designed to behave similarly to wheat flour in frying applications, often containing gums that help with crispness. Ensure all other ingredients (like seasonings) are also gluten-free.

Golden Crispy Onion Rings
Equipment
- large bowl
- medium bowl
- shallow dish
- large heavy-bottomed pot or deep fryer
- slotted spoon
- paper towel-lined plate
Ingredients
Main Ingredients
- 2 large yellow onions
- 2 cups all-purpose flour, divided
- 1 tablespoon cornstarch
- 1 teaspoon baking powder
- 1 teaspoon salt
- 0.5 teaspoon black pepper
- 1 cup cold club soda or sparkling water
- 1 large egg, whisked
- Vegetable oil, for deep frying
Instructions
Preparation
- Separate the onion slices into individual rings.
- In a large bowl, combine 1.5 cups of flour, cornstarch, baking powder, salt, and pepper.
- In a separate bowl, whisk together the club soda and egg.
- Gradually add the wet ingredients to the dry ingredients, mixing until a smooth batter forms. Avoid overmixing.
- Place the remaining 0.5 cup of flour in a shallow dish.
Frying
- Heat 2-3 inches of vegetable oil in a pot or deep fryer to 350°F (175°C).
- Dredge each onion ring in the dry flour, shaking off excess, then dip into the batter.
- Carefully place battered onion rings into the hot oil in batches without overcrowding.
- Fry for 2-4 minutes until golden brown and crispy, flipping once if needed.
- Remove onion rings with a slotted spoon and drain on a paper towel-lined plate.
Serving
- Season immediately with extra salt if desired.
- Serve hot and enjoy!