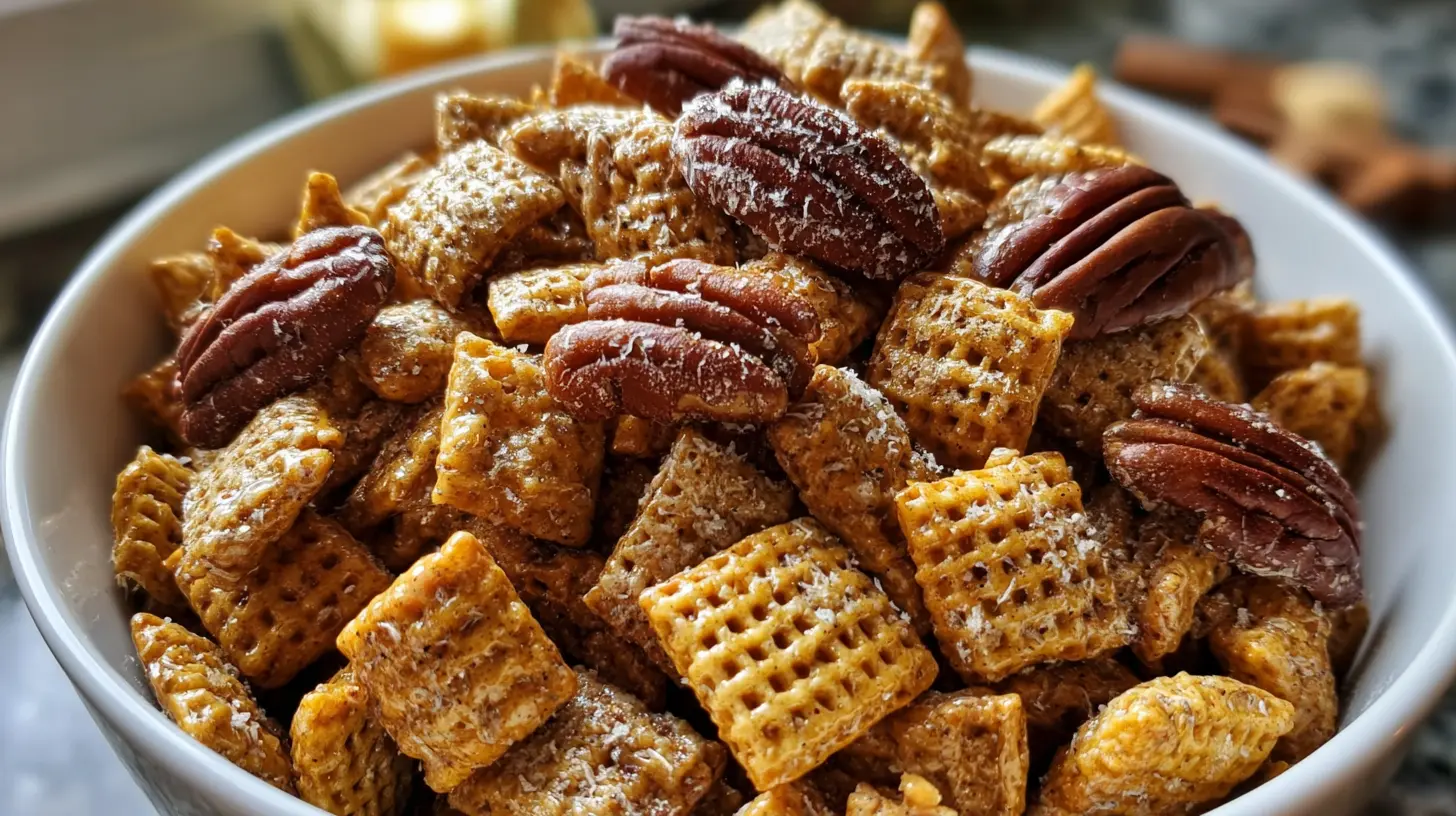
There’s something wonderfully nostalgic about the crunch of a perfectly caramelized praline. For me, it takes me back to bustling French patisseries, where the air hums with the scent of sugar and nuts. But you don’t need a plane ticket to experience that magic. This Praline Crunch recipe brings that irresistible texture and flavor right into your kitchen. Once you taste that sweet, nutty, and oh-so-satisfying crunch, you’ll understand why it’s so hard to stop at just one spoonful.
Why This Praline Crunch Will Become Your New Obsession
This isn’t just another sweet treat; it’s an experience. If you’re looking for a dessert component that instantly elevates everything it touches, or simply a delightful little nibble to satisfy a craving, Praline Crunch is your answer. It’s incredibly versatile, acting as a textural and flavor powerhouse sprinkled over ice cream, yogurt, cakes, or even enjoyed on its own. Imagine adding a layer of sophisticated crunch to your morning parfait or surprising guests with a homemade dessert topping that tastes like it came from a gourmet shop. It’s surprisingly simple to make, yet delivers an impressive impact.
> “I made this Praline Crunch last week, and it disappeared within hours! It’s perfectly sweet, and that crunch is just addictive. My family keeps asking for more – it’s a definite keeper!” – Sarah L.
The Journey to Perfect Praline Crunch
Making Praline Crunch is a delightful process, mostly involving careful sugar work and a bit of patience. You’ll start by lightly toasting your nuts to bring out their essential oils, deepening their flavor. Then, you’ll embark on the magical transformation of sugar into a golden, bubbling caramel. Once the sugar is beautifully caramelized, the toasted nuts are introduced, creating a glorious sticky mixture. This mixture is then spread thin and allowed to cool completely, becoming brittle and ready for its final, satisfying crunch.
Gather These Items
- 1 cup (about 120g) whole almonds: Or a mix of almonds and hazelnuts for a richer flavor. Ensure they’re unblanched and unsalted.
- 1 cup (200g) granulated sugar: The key to that perfect caramel.
- 1/4 cup (60ml) water: Helps the sugar dissolve evenly.
- 1/2 teaspoon vanilla extract (optional): Adds a lovely aromatic depth.
- Pinch of salt (optional): Balances the sweetness and enhances flavor.
Directions to Follow
- Prep Your Nuts & Surface: Preheat your oven to 325°F (160°C). Spread the almonds (and/or hazelnuts) on a baking sheet and toast for 8-10 minutes, or until lightly golden and fragrant. Watch carefully to prevent burning. Let them cool slightly. Line a large baking sheet with parchment paper or a silicone baking mat. Lightly grease another piece of parchment paper with a neutral oil if you plan to press the praline thinner.
- Start the Caramel: In a heavy-bottomed saucepan, combine the granulated sugar and water. Stir gently until the sugar is dissolved.
- Cook the Caramel: Place the saucepan over medium heat. Do not stir after this point. Allow the mixture to come to a boil. It will start to bubble, then turn clear, and eventually begin to color around the edges. Swirl the pan occasionally to ensure even cooking, but resist the urge to stir with a spoon, as this can cause crystallization.
- Reach Golden Perfection: Continue to cook until the sugar turns a beautiful amber or deep golden-brown color. This usually takes about 10-15 minutes, but keep a close eye on it, as it can burn quickly once it starts to color.
- Add Nuts & Flavor: Quickly remove the pan from the heat. Stir in the toasted nuts, vanilla extract (if using), and salt (if using). Stir quickly and thoroughly to coat all the nuts evenly with the caramel.
- Spread & Cool: Immediately pour the hot praline mixture onto your prepared baking sheet. Using a heatproof spatula or the back of a greased spoon, spread it out as thinly as possible. If desired, place the second greased parchment paper over the hot praline and use a rolling pin to flatten it even thinner.
- Harden & Break: Let the praline cool completely at room temperature. This can take 30-60 minutes. Once fully cooled and hardened, it will be brittle. Break it into smaller, irregular pieces using your hands, or gently tap it with the back of a knife or a rolling pin.
- Crunch Time: Once broken, you can further chop it into a finer “crunch” using a sharp chef’s knife or pulse it gently in a food processor (be careful not to turn it into a powder).
Best Ways to Enjoy It
This Praline Crunch is incredibly versatile! The most obvious, and perhaps most satisfying, way to enjoy it is straight from the jar, by the spoonful. Beyond that, it’s a phenomenal topping for:
- Ice Cream & Frozen Yogurt: A classic pairing, adding textural contrast and nutty sweetness.
- Desserts: Sprinkle over cakes, cupcakes, tarts, custards, or puddings.
- Breakfast & Brunch: Elevate your oatmeal, yogurt parfaits, or even sprinkle over pancakes and waffles.
- Chocolate Creations: Fold it into melted chocolate for a homemade candy bar or sprinkle over chocolate bark.
- Coffee & Hot Chocolate: A small sprinkle can add a touch of gourmet flair.
Keeping Leftovers Fresh
Once your Praline Crunch is completely cooled and broken into pieces, store it in an airtight container at room temperature. Make sure it’s fully cooled before sealing, as any residual warmth can create condensation and make it sticky. Stored properly, it will remain fresh and crunchy for up to 2-3 weeks. Do not refrigerate, as the humidity can cause it to become sticky. Freezing is also not recommended for the same reason.
Pro Chef Tips
- Use a Heavy-Bottomed Pan: This helps distribute heat more evenly and prevents the sugar from burning in spots.
- Don’t Stir the Caramel: Once the sugar and water are combined and on the heat, resist the urge to stir. Stirring can cause sugar crystals to form on the sides of the pan, leading to grainy, crystallized caramel. Swirl the pan gently instead.
- Watch for Color: Caramel can go from perfect to burnt in a matter of seconds. Stay by the stove and remove it as soon as it reaches your desired golden-amber color.
- Safety First: Hot caramel is extremely hot and can cause severe burns. Work carefully and have everything prepped before you start the caramelization process.
- Clean Up: To clean your caramel pan, simply fill it with hot water and let it soak. The hardened caramel will dissolve, making cleanup a breeze.
Creative Twists
- Nutty Variations: Experiment with different nuts! Pecans, walnuts, pistachios, or even pumpkin seeds could be incredible. Lightly toast them all for best flavor.
- Spiced Praline: Add a pinch of cinnamon, nutmeg, or a tiny dash of cayenne pepper (for a sweet-and-spicy kick) when you add the vanilla.
- Chocolate Drizzle: Once the praline crunch has cooled and broken, melt some dark or milk chocolate and drizzle it over the pieces for an extra layer of decadence.
- Salted Caramel Praline: After removing the caramel from the heat but before adding the nuts, sprinkle in a generous pinch of flaky sea salt (like Maldon). This takes the flavor profile to another level.
Common Questions
Why did my caramel crystallize?
A: Crystallization often happens if sugar crystals cling to the sides of the pan and fall back into the boiling sugar, causing a chain reaction. To prevent this, ensure your pan is clean, don’t stir the caramel once it’s boiling, and you can even brush down the sides of the pan with a wet pastry brush during the early stages of cooking to dissolve any stray crystals.
Can I use brown sugar instead of granulated sugar?
A: While technically possible, brown sugar contains molasses, which affects the caramellization process and often results in a less brittle and more chewy praline. For the classic Praline Crunch texture, granulated sugar is highly recommended.
How can I crush the praline if I don’t have a food processor?
A: No problem! Once the praline is completely cooled and brittle, place it in a sturdy freezer bag (double-bagged for extra security). Lay it on a firm surface and use a rolling pin, a meat mallet, or even a heavy pan to gently tap and break it into your desired crunch size.
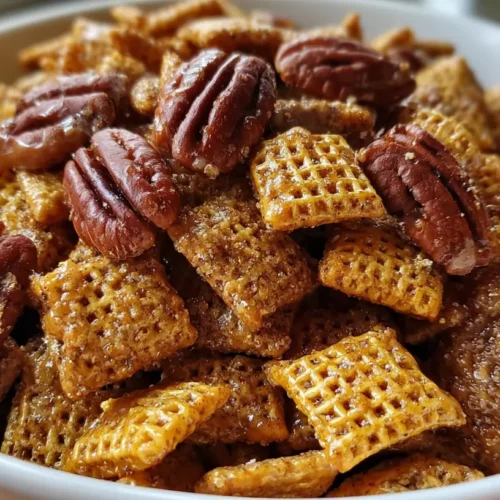
Irresistible Pecan Praline Crunch
Equipment
- Baking Sheet
- Parchment Paper or Silicone Mat
- Heavy-Bottomed Saucepan
- Heatproof Spatula or Spoon
- Offset Spatula (optional)
Ingredients
Main Ingredients
- 1 cup Granulated Sugar
- 1 cup Pecans toasted
Instructions
Preparation
- Line a baking sheet with parchment paper or a silicone mat, preparing your surface for the praline.
- In a heavy-bottomed saucepan, melt granulated sugar over medium-low heat, gently swirling until it dissolves and turns an amber color (5-8 minutes), being careful not to burn it.
- Immediately remove the pan from heat, stir in the toasted pecans until fully coated, and then pour the mixture onto the prepared baking sheet.
- Spread the pecan-caramel mixture thinly and evenly on the baking sheet using the back of a spoon or an offset spatula.
- Let the praline cool completely at room temperature for 20-30 minutes or in the refrigerator for 10-15 minutes, then break it into irregular pieces.