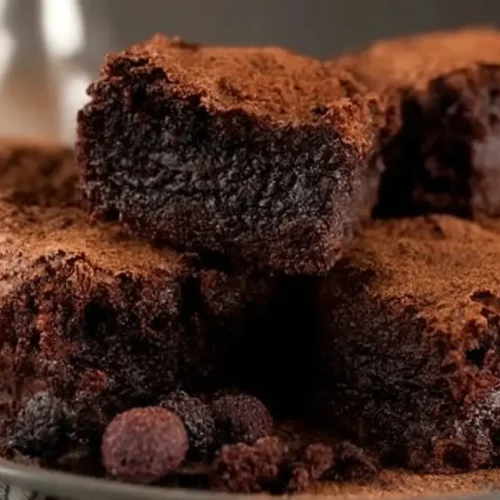
Ultimate Fudgy Chocolate Brownie Dessert
Indulge in these rich, decadent, and incredibly fudgy chocolate brownies. Perfect for satisfying any sweet tooth, this recipe delivers a classic crinkly top and a moist, chewy interior.
Equipment
- Oven
- 9x13-inch Baking Pan
- Parchment Paper
- Large Microwave-Safe Bowl or Double Boiler
- Whisk
- Spatula
- Wire Rack
Ingredients
Brownies
- 1 cup Unsalted Butter (226g), melted
- 2 cups Granulated Sugar (400g)
- 4 Large Eggs at room temperature
- 2 teaspoons Vanilla Extract
- 1 cup All-Purpose Flour (125g)
- ¾ cup Unsweetened Cocoa Powder (75g), Dutch-processed recommended
- ½ teaspoon Salt
- 1 cup Chocolate Chips or Chunks (170g), semi-sweet or dark (optional)
Instructions
Preparation
- Preheat your oven to 350°F (175°C) and line a 9x13-inch baking pan with parchment paper, leaving an overhang for easy removal. Lightly grease the parchment paper.
- Melt the butter in a microwave-safe bowl or double boiler, then stir in the unsweetened cocoa powder until smooth and let it cool slightly.
Mixing
- Whisk the granulated sugar into the cooled butter-cocoa mixture until glossy, then beat in the eggs one at a time, followed by the vanilla extract.
- In a separate bowl, whisk together the flour and salt, then gradually add to the wet ingredients, mixing until just combined without overmixing.
- If desired, gently fold in the chocolate chips or chunks.
Baking & Cooling
- Pour the batter into the prepared pan and bake for 25-30 minutes, or until a toothpick inserted into the center comes out with moist crumbs.
- Allow the brownies to cool completely in the pan on a wire rack before lifting and cutting them into squares.
Notes
For extra fudgy brownies, be careful not to overbake. The center might still look a little soft when you take them out, and they will continue to set as they cool. Make sure to let them cool completely before cutting for clean slices.