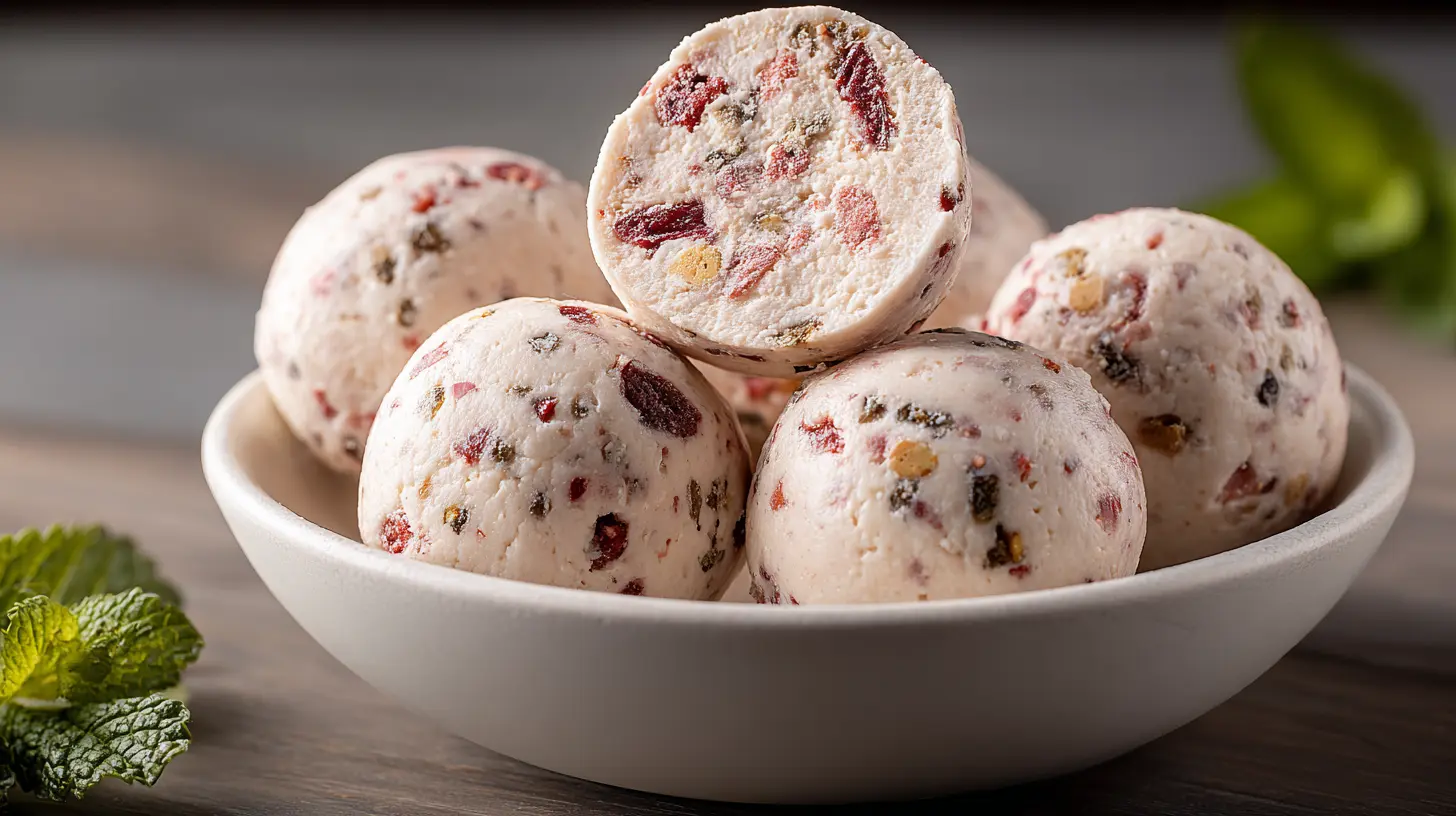
I remember the first time I heard the words “cottage cheese” and “protein balls” in the same sentence, my initial reaction was a mix of curiosity and a little skepticism. Cottage cheese in a sweet snack? But let me tell you, one bite changed my mind completely. Cottage Cheese Protein Balls are not just a healthy snack; they’re a revelation, transforming what you thought you knew about convenient, nutritious treats. They’re quickly becoming my go-to when that 3 PM slump hits or I need a quick post-workout boost, and I have a feeling they’ll become yours too.
Why you’ll love this dish
These aren’t just another healthy snack fad; they’re genuinely fantastic for so many reasons. First off, they’re incredibly straightforward to make – we’re talking minimal ingredients and hardly any effort, which is perfect for busy weeknights or meal prepping on a Sunday. They’re also wonderfully adaptable; whether you’re a fan of classic vanilla, a chocolate fiend, or prefer a fruity twist, these balls can cater to your cravings. Beyond taste and convenience, they’re a protein powerhouse, thanks to that unassuming cottage cheese. This means they actually keep you full and satisfied, unlike many snacks that leave you rummaging for more just an hour later. Plus, they’re naturally gluten-free and can easily be made refined sugar-free, making them accessible to a wider range of dietary needs. Perfect for a quick breakfast, an afternoon pick-me-up, or even a healthier dessert, these protein balls genuinely fit into any part of your day where you need a nutritious, delicious boost.
> “I was skeptical about cottage cheese in a sweet treat, but WOW! These protein balls are a game-changer. So easy to make, satisfying, and delicious. My kids even love them!” – A. Ramirez
How this recipe comes together
Making these Cottage Cheese Protein Balls is honestly one of the simplest kitchen tasks you’ll undertake. The basic premise involves blending creamy cottage cheese with a few key flavor-makers and a protein source until smooth. Once you have that wonderfully uniform mixture, you’ll stir in any additional mix-ins like oats or chocolate chips to give them texture and even more flavor. Then, it’s just a matter of rolling them into bite-sized spheres, chilling them briefly to firm up, and voilà – you have a batch of delicious, nutrient-packed snacks ready to grab and go. No baking required, no complicated steps, just pure, unadulterated snack satisfaction.
Key ingredients
To whip up these delightful Cottage Cheese Protein Balls, you’ll need just a handful of straightforward ingredients:
- Cottage Cheese: The star of the show. Full-fat or low-fat works, use what you prefer. Its mild flavor and creamy texture are essential.
- Protein Powder: Your choice of vanilla or unflavored protein powder. This boosts the protein content significantly and helps with binding.
- Sweetener: Maple syrup, honey, or a sugar-free alternative like erythritol or stevia drops. Adjust to your desired sweetness.
- Nut Butter: Almond butter, peanut butter, cashew butter – pick your favorite! Adds healthy fats, flavor, and helps bind the balls.
- Oat Flour (or finely ground oats): This helps absorb moisture and gives the balls a firmer, more dough-like consistency. You can make your own by blending rolled oats.
- Vanilla Extract: Enhances the overall flavor.
- Optional Mix-ins: Mini chocolate chips, shredded coconut, chopped nuts, or dried fruit for extra texture and flavor.
Directions to follow
Let’s get these delicious protein balls made!
- Blend the Base: In a food processor or a high-powered blender, combine the cottage cheese, protein powder, sweetener of choice, nut butter, and vanilla extract. Blend until the mixture is completely smooth and creamy, with no visible curds from the cottage cheese. Scrape down the sides as needed to ensure everything is incorporated.
- Add Oat Flour: Transfer the smooth mixture to a medium bowl. Gradually add the oat flour (or finely ground oats), ½ cup at a time, stirring well after each addition. You want the mixture to be thick enough to roll, but not dry. It might still be a bit sticky, which is perfectly fine.
- Stir in Mix-ins (Optional): If you’re using any optional mix-ins like mini chocolate chips, shredded coconut, or chopped nuts, gently fold them into the mixture now.
- Roll the Balls: Lightly dampen your hands with water or spray them with a little cooking spray to prevent sticking. Scoop out about 1 tablespoon of the mixture at a time and roll it between your palms to form a smooth ball. Place the finished balls on a plate or baking sheet lined with parchment paper.
- Chill and Enjoy: Once all the mixture has been rolled, place the plate or baking sheet into the refrigerator for at least 30 minutes to an hour. This allows the balls to firm up and makes them easier to handle and more enjoyable to eat.
Best ways to enjoy it
These Cottage Cheese Protein Balls are incredibly versatile in how you can enjoy them! For a quick breakfast on the go, grab two or three with your coffee. They’re fantastic as a pre- or post-workout snack, providing that immediate protein hit your muscles crave. I often pack a couple in my lunchbox for an afternoon pick-me-up when the hunger pangs strike. For a healthier dessert option, especially if you’ve added chocolate chips, they satisfy a sweet craving without the guilt. You can also crumble them over a bowl of Greek yogurt and berries for an extra protein boost and delightful texture. Don’t be afraid to experiment with different coatings – a light roll in cocoa powder, shredded coconut, or finely chopped nuts can add an extra layer of flavor and visual appeal.
Keeping leftovers fresh
Storing your Cottage Cheese Protein Balls properly is key to keeping them tasting great and maintaining their freshness. Because they contain cottage cheese, refrigeration is a must.
- Refrigerator: Store the protein balls in an airtight container in the refrigerator for up to 5-7 days. Lay them in a single layer or separate layers with parchment paper to prevent them from sticking together.
- Freezer: These protein balls also freeze beautifully! Place the chilled balls on a baking sheet lined with parchment paper, ensuring they don’t touch. Freeze for 1-2 hours until solid. Once frozen, transfer them to a freezer-safe airtight container or a heavy-duty freezer bag. They will keep well in the freezer for up to 1-2 months.
- Thawing/Reheating: When you’re ready to enjoy a frozen protein ball, simply take it out of the freezer and let it thaw in the refrigerator for a few hours, or at room temperature for about 15-30 minutes. No reheating is necessary.
Always trust your senses – if they look or smell off, it’s best to discard them.
Pro chef tips
- Don’t Skimp on Blending: The key to getting rid of that “cottage cheese” texture and flavor is thorough blending. A food processor works best here, transforming the curds into a silky-smooth base. Blend longer than you think you need to!
- Adjust Consistency with Oat Flour: Not all protein powders/cottage cheeses are equal in moisture content. Add the oat flour gradually. If your mixture feels too wet, add a little more oat flour (or even a tiny bit of extra protein powder). If it’s too dry and crumbly, a splash of milk (dairy or non-dairy) can help bring it together.
- Chill Time is Crucial: Don’t skip the chilling step! It’s not just for firmness; it allows the flavors to meld and the oat flour to fully absorb moisture, preventing a sticky mess and improving the texture.
- Flavor Boost Secret: A tiny pinch of salt (especially if your nut butter isn’t already salted) can significantly enhance the flavors, balancing the sweetness and making everything pop.
- Hands-on Help: If the mixture is particularly sticky when rolling, try chilling it for 15-20 minutes before you start rolling. You can also lightly oil or dampen your hands to prevent sticking.
Creative twists
The beauty of these Cottage Cheese Protein Balls lies in their adaptability! Here are a few ways to switch things up:
- Chocolate Peanut Butter: Use chocolate protein powder, peanut butter, and miniature chocolate chips.
- Lemon Poppy Seed: Add lemon zest and a tablespoon of poppy seeds to the base mixture. A hint of lemon extract can boost the flavor further.
- Tropical Delight: Incorporate finely shredded unsweetened coconut and a touch of pineapple extract or finely diced dried mango.
- Spiced Fall Flavor: Mix in pumpkin pie spice or cinnamon, a little extra maple syrup, and perhaps some chopped pecans.
- Matcha Green Tea: For an earthy twist, add a teaspoon of culinary-grade matcha powder to the blending stage. This gives them a beautiful color and unique flavor.
- Nut-Free Option: If you have allergies, substitute the nut butter with sunflower seed butter (SunButter) and ensure your protein powder and oat flour are certified nut-free.
- Extra Fiber Boost: Stir in a tablespoon of chia seeds or ground flax seeds with the oat flour for an added nutritional punch.
Common questions
Why cottage cheese? Can I taste the cottage cheese?
A: Cottage cheese is used for its high protein content and natural creaminess. When blended properly in a food processor, the curds completely disappear, and its mild flavor is easily masked by the other ingredients like protein powder, nut butter, and sweetener. Most people can’t detect it at all!
What kind of protein powder should I use?
A: Any protein powder you typically enjoy will work. Whey protein (vanilla or unflavored) is a popular choice for its smooth texture. Plant-based protein powders (like pea or brown rice protein) also work, but keep in mind they can sometimes absorb more liquid, so you might need to adjust the amount of oat flour or add a splash of milk.
My mixture is too sticky to roll. What should I do?
A: This is a common issue! First, try chilling the mixture for at least 30 minutes in the refrigerator. Cold dough is much easier to handle. If it’s still too sticky, add an additional tablespoon or two of oat flour or even a tiny bit more protein powder, mixing well until it reaches a rollable consistency. You can also lightly dampen your hands or coat them with a thin layer of oil before rolling.

Chocolate Lover’s Cottage Cheese Protein Balls
Equipment
- fine-mesh sieve
- paper towel or cheesecloth
- medium-sized mixing bowl
- spoon
- shallow dish
- airtight container
Ingredients
Protein Balls
- 1 cup cottage cheese, drained
- 1/2 cup chocolate protein powder
- 1/4 cup rolled oats
- 2 tablespoons almond butter
- 2 tablespoons maple syrup
- 1/2 teaspoon vanilla extract
- 1/4 cup mini chocolate chips optional
For Coating
- 2 tablespoons unsweetened cocoa powder
Instructions
Preparation
- Drain excess liquid from the cottage cheese using a fine-mesh sieve lined with a paper towel or cheesecloth to ensure the correct texture.
Mixing
- Combine the drained cottage cheese, chocolate protein powder, rolled oats, almond butter, maple syrup, and vanilla extract in a medium bowl; fold in mini chocolate chips if desired.
Forming the Dough
- Mix all ingredients thoroughly with a spoon or your hands until a thick, cohesive dough forms, firm enough for rolling.
Rolling the Balls
- Scoop out 1 to 2 tablespoon portions and roll them between your palms to form bite-sized balls.
Coating
- Place unsweetened cocoa powder in a shallow dish and roll each protein ball until fully coated.
Chilling
- Arrange the balls on a plate or in an airtight container and refrigerate for at least 30 minutes to firm up before serving.