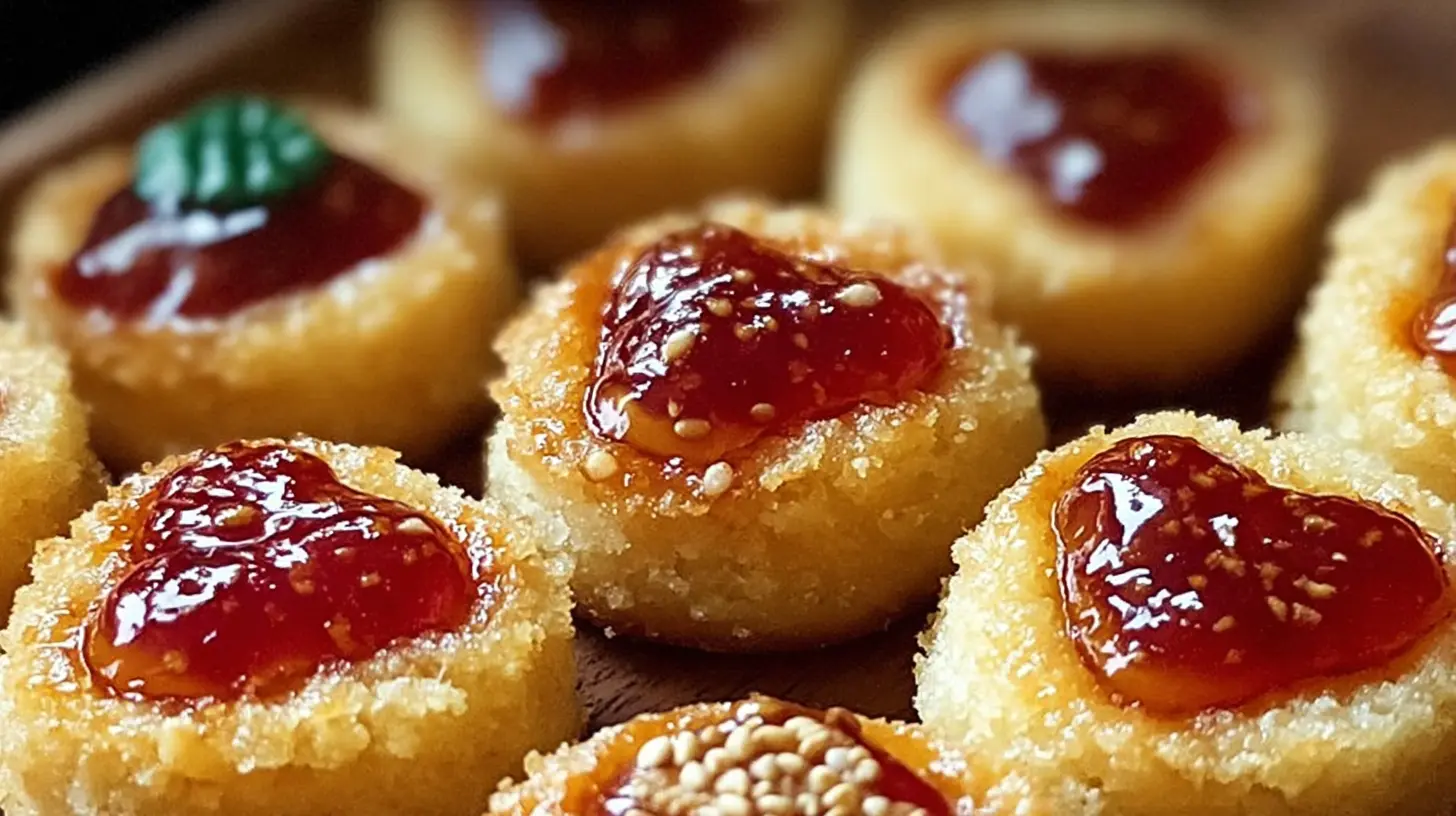
When I first started hosting gatherings, I always felt the pressure to create elaborate spreads. But over time, I learned that the most beloved dishes are often the simplest, especially when they involve cheese and are easy to pop into your mouth. That’s where these Cheesy Thumbprint Appetizers come in. They’re my secret weapon for effortless entertaining, offering a delightful bite that’s both comforting and impressive, without hours of fuss.
Why You’ll Love This Dish
These Cheesy Thumbprint Appetizers are a game-changer for anyone who loves good food but hates kitchen stress. First off, they’re incredibly versatile – a single dough recipe opens up a world of flavor possibilities. You can whip up a batch for a casual family snack, or create an elegant platter for a sophisticated dinner party. They’re also wonderfully quick; perfect for those last-minute cravings or unexpected guests. Plus, who can resist a warm, cheesy bite? They’re practically guaranteed to be a crowd-pleaser, ensuring you spend less time cooking and more time enjoying your company.
> “I made these Cheesy Thumbprint Appetizers for our last game night, and they disappeared almost immediately! Everyone asked for the recipe. So easy and so delicious!” – A happy host
How This Recipe Comes Together
Creating these Cheesy Thumbprint Appetizers is a straightforward process that makes you feel like a kitchen wizard. You start by preparing a simple, savory dough – think of it as a blank canvas. Once the dough is ready, you’ll roll it into small balls, then create that signature “thumbprint” indentation. This little well is where all the magic happens as you fill it with various cheesy, flavorful toppings. A quick bake in the oven transforms these unassuming bites into golden, bubbly delights, ready to impress any palate.
What You’ll Need
Dough Base
- 1 cup (2 sticks) unsalted butter, softened
- 8 oz cream cheese, softened
- 2 ½ cups all-purpose flour
- 1 teaspoon salt
- ½ teaspoon garlic powder
- ¼ teaspoon black pepper
Filling Idea 1: Classic Cheddar & Chive
- ½ cup shredded sharp cheddar cheese
- 2 tablespoons fresh chives, minced
Filling Idea 2: Sun-Dried Tomato & Feta
- ⅓ cup crumbled feta cheese
- 2 tablespoons sun-dried tomatoes (oil-packed, drained and minced)
- 1 teaspoon dried oregano
Filling Idea 3: Pesto & Mozzarella
- ⅓ cup shredded mozzarella cheese
- 2 tablespoons prepared basil pesto
Filling Idea 4: Spicy Jalapeño Popper
- ⅓ cup cream cheese, softened (separate from dough cream cheese)
- 1 tablespoon pickled jalapeños, finely minced
- 1 tablespoon finely shredded Monterey Jack cheese
Directions to Follow
- Prepare the Dough: In a large mixing bowl, cream together the softened butter and cream cheese until smooth and well combined.
- Add Dry Ingredients: Gradually add the flour, salt, garlic powder, and black pepper to the butter mixture, mixing until a soft dough forms. Do not overmix.
- Chill (Optional but Recommended): Cover the dough and refrigerate for at least 30 minutes. This makes it easier to handle.
- Preheat Oven & Prep: Preheat your oven to 375°F (190°C). Line baking sheets with parchment paper.
- Form the Thumbprints: Roll the chilled dough into small balls, about 1 inch in diameter. Place them on the prepared baking sheets. Using your thumb or the back of a small spoon, create a shallow indentation in the center of each dough ball.
- Prepare Fillings:
- Cheddar & Chive: Combine cheddar and chives in a small bowl.
- Sun-Dried Tomato & Feta: Combine feta, sun-dried tomatoes, and oregano in a separate small bowl.
- Pesto & Mozzarella: Combine mozzarella and pesto in a third small bowl.
- Spicy Jalapeño Popper: In a fourth small bowl, mix softened cream cheese with minced jalapeños and Monterey Jack.
- Fill the Thumbprints: Spoon a small amount of your chosen filling into the indentations of the dough balls. You can fill each tray with a different flavor, or mix and match on the same tray.
- Bake: Bake for 12-15 minutes, or until the edges are lightly golden and the cheese is bubbly and melted.
- Cool & Serve: Let the appetizers cool slightly on the baking sheets before transferring them to a wire rack. Serve warm.
Serving Suggestions
These Cheesy Thumbprint Appetizers truly shine when served warm, straight from the oven. Arrange them artfully on a platter, perhaps garnished with an extra sprinkle of fresh herbs like chives or parsley to add a pop of color. They’re fantastic on their own, but if you’re feeling fancy, consider serving them alongside a simple green salad with a light vinaigrette for a lunch, or a bowl of marinara sauce for dipping the pesto mozzarella ones. For a party, mix and match the different flavors on one platter to give your guests a delightful variety to choose from.
Keeping Leftovers Fresh
Should you have any of these delectable bites left over (a rare occurrence in my experience!), allow them to cool completely before storing. Place them in an airtight container in the refrigerator for up to 3 days. To reheat, arrange them on a baking sheet and warm them in a preheated oven at 300°F (150°C) for about 5-7 minutes, or until heated through and the cheese is soft again. While you can technically freeze the baked appetizers, their texture is best when freshly baked or simply refrigerated and reheated. For best results, freeze the unbaked dough balls with the fillings already in place on a baking sheet until frozen solid, then transfer to a freezer-safe bag. When ready to bake, place frozen appetizers on a baking sheet and bake at 375°F (190°C) for 18-22 minutes.
Helpful Cooking Tips
- Don’t Overmix the Dough: Overmixing flour can lead to tough dough. Mix just until combined for a tender, flaky texture.
- Chill the Dough: This step is crucial. Chilled dough is less sticky and easier to roll and shape, preventing your thumbprints from tearing.
- Vary Your Indentations: If your thumb is too large or small, use the back of a ½ teaspoon measuring spoon to create uniform indentations.
- Don’t Overfill: A little filling goes a long way. Too much and it might spill out during baking.
- Parchment Paper is Your Friend: It prevents sticking and makes cleanup a breeze.
Different Ways to Try It
The beauty of these Cheesy Thumbprint Appetizers lies in their adaptability!
- Sweet & Savory Twist: Try a spoonful of fig jam or apple butter in the thumbprint, then top with crumbled goat cheese and a sprinkle of chopped walnuts after baking.
- Mediterranean Zest: Fill with a mixture of finely chopped Kalamata olives, sun-dried tomatoes, and a hint of fresh rosemary before baking, then crumble goat cheese on top as they come out of the oven.
- Breakfast Bites: Incorporate finely diced cooked bacon or sausage into one of the cream cheese fillings for a savory morning treat.
- Indian Inspired: Mix cream cheese with a pinch of curry powder, some finely minced cilantro, and a tiny dollop of mango chutney for a unique flavor profile.
- Seasonal Delights: In the fall, try a pumpkin puree base mixed with cream cheese and sage; in spring, use asparagus tips and Gruyère.
Common Questions
Q1: Can I make the dough ahead of time?
A1: Absolutely! The dough can be made up to 2-3 days in advance and stored, tightly wrapped, in the refrigerator. You can also freeze the raw dough for up to a month. Thaw in the refrigerator before using.Q2: What if I don’t have cream cheese? Can I use something else?
A2: While cream cheese provides that essential tangy richness and tender texture, you could experiment with an equal amount of softened goat cheese for a different flavor profile, or a less common option might be ricotta cheese (though the dough texture might be a bit different). However, for the intended result, cream cheese is highly recommended.Q3: Can these appetizers be made gluten-free?
A3: Yes, you can substitute the all-purpose flour with a 1:1 gluten-free all-purpose flour blend. Just ensure your blend contains xanthan gum for optimal texture. The baking time might vary slightly, so keep an eye on them.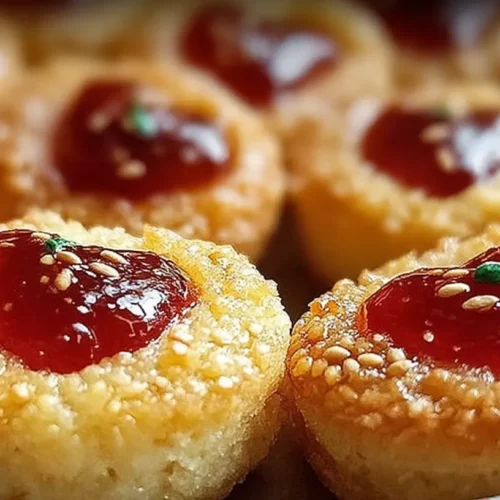
Cheesy Thumbprint Appetizers with Red Bell Pepper and Green Onion
Equipment
- Large mixing bowl
- Electric mixer
- Plastic wrap
- Baking sheet
- Parchment paper
- Small bowl
- Spoon
- Wire rack
Ingredients
For the Dough
- 1 cup unsalted butter (2 sticks) softened
- 8 ounces cream cheese softened
- 2 cups all-purpose flour
- ½ teaspoon salt
- ¼ teaspoon black pepper
- 1 cup shredded sharp cheddar cheese
For the Filling
- ½ cup shredded cheddar cheese (sharp or medium)
- ¼ cup finely diced red bell pepper
- 2 tablespoons finely chopped green onions (scallions)
- 1 tablespoon mayonnaise (or sour cream)
- Pinch garlic powder
Optional Garnish
- Fresh parsley or chives finely chopped
Instructions
Prepare the Dough
- In a large bowl, beat softened butter and cream cheese until smooth, then gradually add flour, salt, pepper, and 1 cup shredded cheddar cheese, mixing until a soft dough forms without overmixing.
Chill the Dough
- Wrap the dough in plastic wrap and refrigerate for at least 30 minutes, or up to 2 hours, allowing it to firm up for easier handling.
Preheat & Prep
- Preheat your oven to 375°F (190°C) and line a baking sheet with parchment paper.
Form the Thumbprints
- Remove the chilled dough from the fridge, roll spoonfuls into 1-inch balls, place them on the prepared baking sheet, and gently press an indentation into the center of each ball with your thumb or a small spoon.
Mix the Filling
- In a small bowl, combine the remaining ½ cup shredded cheddar, diced red bell pepper, chopped green onions, mayonnaise or sour cream, and a pinch of garlic powder.
Fill and Bake
- Spoon about ½ teaspoon of the prepared cheese mixture into the thumbprint of each dough ball, then bake for 15-18 minutes, or until the edges are lightly golden and the filling is bubbly.
Cool Slightly
- Allow the appetizers to cool on the baking sheet for a few minutes before transferring them to a wire rack to cool completely.