You know that feeling when you bite into a perfect slice of pizza – the crust is crisp, the toppings are bubbling, and it’s just pure joy? For years, my homemade attempts felt like a game of chance, often ending in disappointment with a soggy bottom or an undercooked center. It wasn’t until I started incorporating these three game-changing tips that my “pizza night” truly transformed from a hopeful experiment into a consistently delicious tradition. If you’re ready to elevate your homemade pizza from “pretty good” to “absolutely amazing,” you’ve come to the right place.
Why You’ll Love This Dish Even More with These Tips
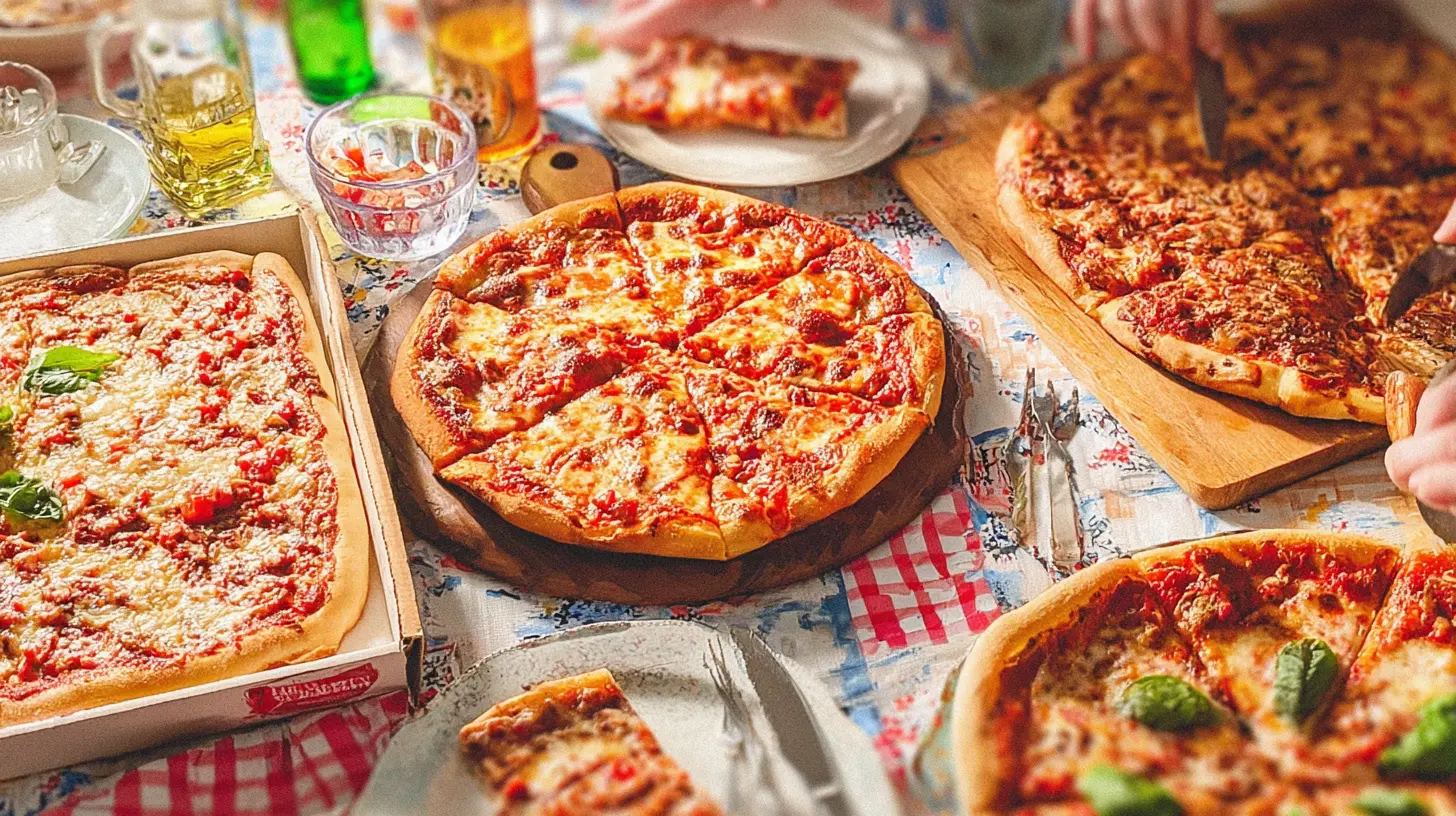
Pizza night isn’t just about the food; it’s about the experience. It’s about gathering loved ones, the aroma filling the kitchen, and the joy of customizing each slice. But let’s be honest, a subpar homemade pizza can dampen the mood. These tips aren’t just about better flavor or texture; they’re about making the entire pizza night experience more enjoyable and less stressful. They address common pain points, like soggy crusts or uneven cooking, ensuring your efforts are always rewarded with a fantastic pie. Whether it’s a casual weeknight dinner, a fun family activity, or hosting friends, these insights will make your pizza the star of the show.
> “I used to dread making pizza at home because it never turned out quite right. After trying these tips, my crust is perfect every time! It’s like I finally cracked the code to amazing homemade pizza.” — A Happy Home Cook
The Cooking Process Explained
Making stellar homemade pizza might seem intimidating, but with the right approach, it’s incredibly rewarding. Our process focuses on a few key areas that often get overlooked. First, we’ll dive into how to prepare your dough, not just in terms of mixing, but how to truly activate its potential. Then, we’ll talk about the magic behind getting that perfectly crisp crust – it’s all about heat! Finally, we’ll cover smart topping strategies to prevent a wet mess and ensure even cooking. It’s less about complicated steps and more about understanding the science behind a great pie.
What You’ll Need
To get started on your best pizza night yet, you’ll want to gather a few essential items. While the specific ingredients for your dough and toppings will vary by your recipe or preference, here’s a general list of what to have on hand, plus a common dough recipe if you’re making it from scratch.
For the Dough (if making from scratch):
- Active Dry Yeast: About 1 packet (2 ¼ teaspoons) – crucial for that airy, chewy texture.
- Warm Water: Around 1 cup (105-115°F/40-46°C) – essential for activating the yeast.
- All-Purpose Flour: About 2 ½ to 3 cups – the base of your crust.
- Olive Oil: 2 tablespoons, plus more for greasing – adds flavor and helps with elasticity.
- Salt: 1 teaspoon – enhances flavor.
- Sugar (optional): 1 teaspoon – helps “feed” the yeast and promotes browning.
For Toppings (sample ideas):
- Pizza Sauce: Your favorite kind, enough for 1-2 pizzas.
- Mozzarella Cheese: About 1 cup shredded per pizza – low-moisture, whole milk is best.
- Toppings of Choice: Pepperoni, mushrooms, bell peppers, onions, cooked sausage, etc.
Equipment:
- Large Mixing Bowl
- Baking Stone or Steel (highly recommended!) or Inverted Baking Sheet
- Pizza Peel (for transferring pizza), or a flat baking sheet dusted with flour/cornmeal
- Oven
Directions to Follow
Here are our top three tips, woven into the general flow of making a pizza, to ensure your next pizza night is a resounding success:
- Prep Your Dough Right (and Let it Rest!):
- Activate Yeast (if using dry): In your mixing bowl, dissolve yeast and optional sugar in warm water. Let it sit for 5-10 minutes until foamy – this confirms your yeast is alive and active.
- Mix & Knead: Add flour, salt, and olive oil. Mix until a shaggy dough forms, then turn onto a floured surface and knead for 5-7 minutes. It should be smooth and elastic.
- The Crucial Rest: Lightly oil the bowl, place the dough in it, and turn to coat. Cover with plastic wrap and let it rise in a warm place for at least 1-1.5 hours, or until doubled in size. This is tip #1! A well-rested dough develops flavor and elasticity, making it easier to stretch and resulting in a chewier, airier crust. Don’t rush this step!
- Preheat Your Oven (and Stone/Steel) Like Crazy:
- Place Your Baking Surface: Put your pizza stone or steel (or an inverted heavy baking sheet) in your oven.
- Heat to Max Temptation: Preheat your oven to its highest setting, usually 500-550°F (260-290°C), for at least 45 minutes to an hour before you plan to bake. This is tip #2! You want that stone or steel screaming hot. This mimics a professional pizza oven, providing an instant blast of heat to the bottom of the dough, creating that coveted crispy crust. Don’t eyeball it; set a timer.
- Go Light on Sauce and Toppings:
- Stretch Your Dough: Gently stretch your risen dough into your desired pizza shape on a lightly floured surface or a piece of parchment paper. If it’s resisting, let it rest for 5-10 minutes, then try again.
- Sauce Strategically: Spoon a thin layer of sauce onto your stretched dough, leaving a border for the crust. This is tip #3! Too much sauce makes your pizza soggy.
- Mind Your Toppings: Add your cheese, then your other toppings. Resist the urge to overload it. A sparsely topped pizza bakes more evenly, and each ingredient gets a chance to shine, avoiding a dense, doughy center.
- Transfer & Bake: Carefully transfer your pizza to the preheated stone/steel using a pizza peel or by sliding the parchment paper directly onto the hot surface. Bake for 8-15 minutes, or until the crust is golden brown and the cheese is bubbly and slightly caramelized.
Best Ways to Enjoy It
Once your masterpiece emerges from the oven, resist the urge to cut into it immediately! Let it rest on a cutting board for 2-3 minutes. This allows the cheese to set slightly and the crust to firm up, preventing toppings from sliding off. Slice your pizza into wedges or squares, depending on your preference.
For side dishes, keep it simple! A fresh green salad with a light vinaigrette perfectly complements the richness of the pizza. Garlic knots or a simple antipasto platter can also be wonderful additions to round out your pizza night feast. And don’t forget the classic pairing: a cold beverage of your choice, whether it’s soda, beer, or wine.
Keeping Leftovers Fresh
Should you miraculously have any pizza left, proper storage is key to enjoying it later.
- Storage: Once completely cooled, place individual slices between layers of parchment paper or paper towels in an airtight container or wrap tightly in plastic wrap. Refrigerate promptly, ideally within two hours of baking. It will keep well for 3-4 days in the refrigerator.
- Reheating: For the best results, avoid the microwave! Reheat slices in a toaster oven, a regular oven (at 350°F/175°C for 5-10 minutes, or until heated through and crisp), or even in a dry skillet on the stovetop over medium heat for 3-5 minutes, covering the pan for the last minute to melt the cheese. This helps to re-crisp the crust wonderfully.
- Freezing: Freezing pizza is possible. Place cooled slices in a single layer on a baking sheet and freeze until solid. Then, transfer the frozen slices to a freezer-safe bag or container and freeze for up to 1-2 months. Reheat directly from frozen using the oven or toaster oven method mentioned above.
Helpful Cooking Tips
- Flour Your Peel: If you’re using a pizza peel, flour it generously with semolina flour or cornmeal before placing your stretched dough on it. This acts like tiny ball bearings, making it much easier to slide the pizza onto the hot stone or steel without sticking.
- Don’t Overwork the Dough: After the initial rise, handle the dough gently. Too much handling can deflate the air bubbles you worked so hard to create during the rise, leading to a denser crust.
- Use Room Temperature Toppings: If possible, let your toppings come to room temperature for about 15-20 minutes before adding them to the pizza. Cold toppings can lower the dough’s temperature and extend baking time, potentially leading to a less crisp crust.
- Rotate for Even Cooking: If your oven has hot spots or you notice one side browning faster, carefully rotate the pizza halfway through baking.
Creative Twists
These tips are foundational, but the world of pizza offers endless possibilities for variation!
- Crust Variations: Experiment with whole wheat flour for a nuttier flavor, or try a sourdough starter for a more complex, tangy crust. Gluten-free flours are also a great option for dietary needs.
- Sauce Swaps: Beyond classic tomato, consider a white pizza with garlic and olive oil, a pesto base, or even a spicy arrabbiata sauce.
- Topping Adventures: Get creative! BBQ chicken, roasted vegetables, fig and prosciutto, goat cheese with caramelized onions, or even breakfast pizza with eggs and bacon. The sky’s the limit!
- Cheese Choices: While mozzarella is traditional, don’t be afraid to mix in some provolone, parmesan, fontina, or even a crumbling of feta or blue cheese for different flavor profiles.
Common Questions
Why is my pizza crust still soggy even after a hot oven?
A: This is usually due to one of two reasons (or both!): your oven/baking surface wasn’t hot enough for long enough (Tip #2!), or you overloaded your pizza with too much sauce and/or watery toppings (Tip #3!). Ensure your stone/steel is screaming hot for at least 45-60 minutes, and go light!Can I make the pizza dough ahead of time?
A: Absolutely! This is a fantastic time-saver. You can prepare the dough, let it complete its first rise, then punch it down, form it into a ball, lightly oil it, and place it in an airtight container or a Ziploc bag in the refrigerator for up to 2-3 days. Bring it back to room temperature for about 30-60 minutes before stretching and baking.What if I don’t have a pizza stone or steel?
A: While a stone or steel provides the best results for a truly crispy crust, you can still make excellent pizza. Preheat an inverted heavy-duty baking sheet in your oven at the highest temperature for at least 30 minutes. This will still get very hot and help crisp the bottom of your crust significantly more than putting the pizza on a cold pan.
Classic Margherita Pizza
Equipment
- Pizza stone or steel
- Pizza peel
- Cutting board
Ingredients
Pizza Dough
- 1 ball store-bought pizza dough at room temperature
Sauce & Cheese
- 1/4 cup crushed tomatoes or your favorite pizza sauce low moisture
- 4 oz fresh mozzarella patted dry and torn into small pieces
For Assembly & Garnish
- 1 tablespoon olive oil
- 1/4 teaspoon salt for dough if making from scratch
- Fresh basil leaves for garnish
- Semolina flour or cornmeal for dusting
Instructions
Preparation
- Preheat your oven to its highest setting (500-550°F / 260-290°C) with a pizza stone or steel inside for at least one hour.
Assemble the Pizza
- Generously dust your pizza peel with semolina flour or cornmeal. Gently stretch the room-temperature dough into a 10-12 inch circle on the floured peel, avoiding overworking it.
- Spread the crushed tomatoes evenly over the dough, leaving a small border for the crust. Distribute the torn fresh mozzarella evenly over the sauce.
Bake and Serve
- Carefully slide the pizza from the peel onto the preheated pizza stone/steel in the oven. Bake for 8-12 minutes, or until the crust is golden brown and the cheese is bubbly and slightly browned.
- Using the pizza peel, carefully remove the pizza from the oven and let it rest on a cutting board for 2-3 minutes. Garnish with fresh basil leaves, then slice and serve immediately.