Table of Contents

Introduction
Nothing captures the essence of a great barbecue like perfectly grilled, juicy beef ribs recipe grill. For those new to grilling, the process may seem intimidating, but with a few simple steps and expert tips, you can achieve tender, smoky, fall-off-the-bone beef ribs that will impress family and friends. In this beginner-friendly guide, we’ll walk you through every step of the grilling process—from choosing the best cut of beef ribs to setting up your grill and mastering cooking techniques. By the end of this article, you’ll feel confident grilling mouthwatering beef ribs every time.
1. Choosing the Right Beef Ribs for Grilling
The success of your grilled beef ribs starts with choosing the right cut of meat. Different types of ribs offer different textures and flavors, so selecting the best option is crucial.
- Types of Beef Ribs:
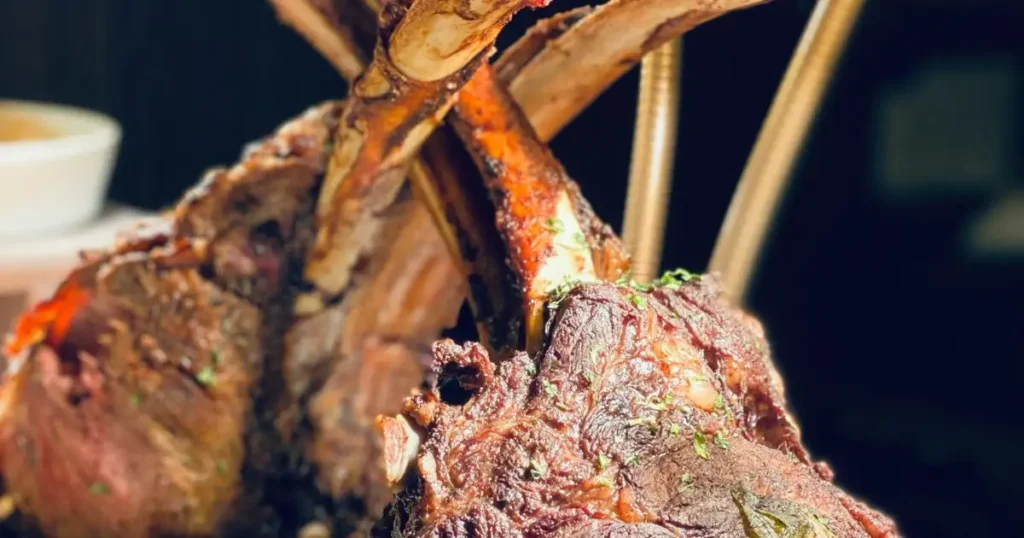
- Back Ribs: These ribs come from the upper part of the cow’s rib cage, near the spine. They’re typically long, with tender meat that sits between the bones. Back ribs are ideal for grilling because their structure and marbling make them tender and flavorful when cooked low and slow.
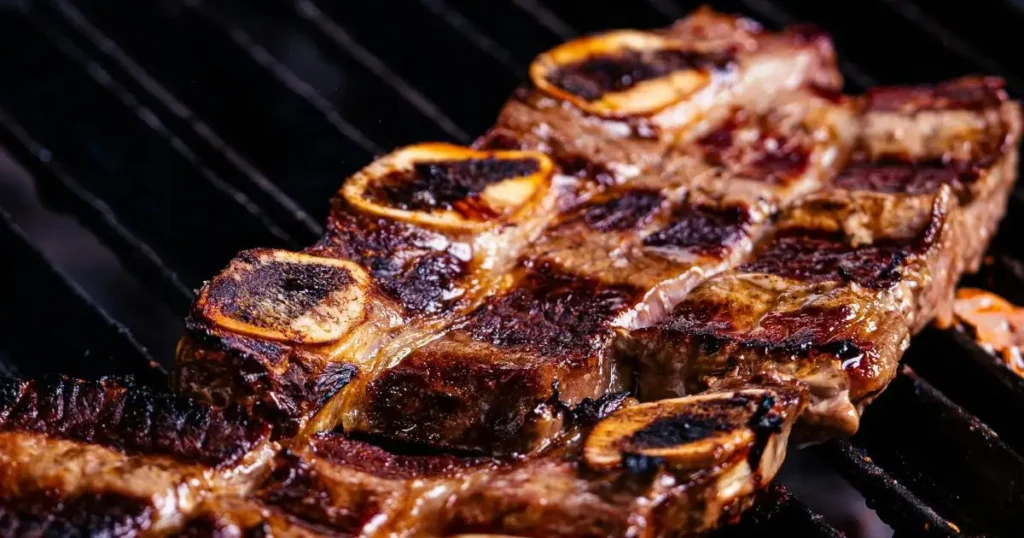
- Short Ribs: Short ribs come from the lower part of the ribcage, closer to the belly. They’re meatier and more robust in flavor but have more connective tissue. While short ribs are often braised, they can also be grilled with patience and a little extra attention to temperature.
- What to Look For:
- Marbling: Look for ribs with visible marbling (small streaks of fat within the meat). Marbling keeps the meat juicy as it cooks, adding to the tenderness and flavor.
- Freshness: Choose ribs that have a vibrant red color and avoid any that look grayish or have an unpleasant smell.
- Meat Coverage: The best ribs will have a good amount of meat on the bones for satisfying bites. Avoid overly trimmed ribs, as they may cook too quickly and lack depth of flavor.
2. Preparing the Beef Ribs for Grilling
Proper preparation can make all the difference in how your ribs taste and cook.
- Removing the Membrane: The membrane is a thin, tough layer on the underside of the ribs. Removing it allows flavors to penetrate the meat and prevents a chewy texture.
- Flip the ribs to the bone side and locate the thin, silvery membrane.
- Use a butter knife to lift one corner of the membrane.
- Grip the membrane with a paper towel and peel it off in one go.
- Rinsing and Drying: Rinse the ribs briefly under cold water to remove any bone fragments or residual juices. Pat them completely dry with paper towels, as this will help the seasoning stick better and create a nice crust when grilling.
- Trimming Excess Fat: If your ribs have large pieces of exterior fat, trim them down. Too much fat can cause flare-ups on the grill and prevent the seasonings from fully penetrating the meat.
3. Seasoning the Ribs for Maximum Flavor
Flavoring the ribs is one of the most enjoyable parts of the BBQ process. Here are two popular ways to season beef ribs: a dry rub and a marinade.
- Dry Rub:
- A dry rub adds a flavorful crust to the ribs as they cook. Here’s a simple yet delicious BBQ rub recipe:
- Ingredients: Salt, black pepper, smoked paprika, garlic powder, brown sugar, and chili powder.
- Application: Generously coat all sides of the ribs with the dry rub, using your hands to press it into the meat. Let the seasoned ribs sit for at least 30 minutes before grilling to allow the flavors to penetrate.
- A dry rub adds a flavorful crust to the ribs as they cook. Here’s a simple yet delicious BBQ rub recipe:
- Marinade Option:
- For a deeper infusion of flavor, you can marinate the ribs. A simple marinade recipe includes soy sauce, apple cider vinegar, olive oil, minced garlic, and fresh herbs.
- Timing: Place the ribs in a large resealable bag with the marinade and refrigerate for at least 2 hours or up to overnight. Bring the ribs to room temperature before grilling for even cooking.
Both seasoning methods provide a flavorful base, ensuring your ribs turn out smoky, tender, and packed with taste.

4. Setting Up Your Grill for Beef Ribs
Creating the right grilling environment is essential to achieve juicy beef ribs with a perfect smoky flavor.
- Choosing Between Gas and Charcoal Grills:
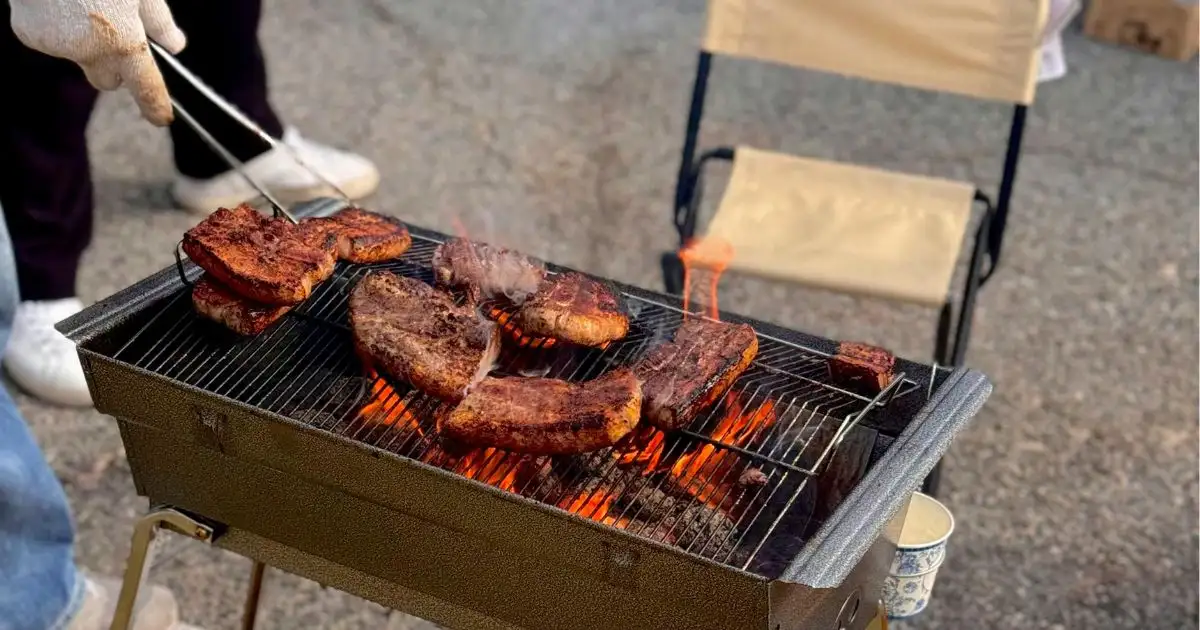
- Gas Grill: Offers easier temperature control and convenience. You can use wood chips in a smoker box to infuse smoke.
- Charcoal Grill: Provides a classic BBQ flavor with rich smokiness. Charcoal grills require a little more attention but yield excellent results.
- Two-Zone Cooking Method:
- Indirect Heat for Slow Cooking: Set up one side of your grill for indirect heat, where the ribs will cook slowly. This technique ensures the meat doesn’t dry out and cooks evenly.
- Direct Heat for Finishing: Use the high-heat side to finish the ribs, creating a crispy, caramelized crust in the last few minutes.
- Adding Wood Chips for Smoky Flavor:
- Best Wood Chips for Beef Ribs: Hickory, mesquite, and applewood add rich, complementary flavors.
- Using Wood Chips: Soak wood chips in water for 30 minutes to prevent them from burning too quickly, then add them to your coals or in a smoker box on a gas grill.
Setting up your grill correctly ensures that the ribs cook at a low and steady temperature, developing that deep, smoky BBQ flavor.
5. Step-by-Step Grilling Instructions for Juicy Beef Ribs
Once your grill is ready, it’s time to start cooking! Follow these steps for juicy, tender beef ribs.
- Preheat the Grill: Aim for a steady temperature of 225°F to 250°F. This low temperature allows the ribs to cook slowly, breaking down the meat’s fibers for a tender result.
- Place the Ribs on the Grill:
- Position the ribs bone-side down on the indirect heat side of the grill. This setup helps the ribs cook gently and absorb smoke without direct exposure to flames.
- Cover and Cook Slowly:
- Cooking Time: Ribs typically take about 3-4 hours at this temperature. Avoid lifting the lid too often, as this can cause temperature fluctuations. Instead, check the ribs every hour to monitor progress and add wood chips as needed for continuous smoke.
- Basting for Added Moisture:
- Prepare a simple basting mixture of apple cider vinegar and water or use a light mop sauce. Baste the ribs every 45 minutes to keep them moist and enhance the flavor.
- Finishing on Direct Heat:
- Move the ribs to the direct heat side of the grill during the last 10-15 minutes. This step creates a caramelized crust and a slight char on the edges, adding extra texture and flavor.
6. How to Tell When Your Beef Ribs Are Done
Knowing when your ribs are done is key to achieving that tender, juicy texture.
- Internal Temperature:
- For optimal tenderness, aim for an internal temperature of 190°F to 203°F. Use a meat thermometer to check the thickest part of the ribs without touching the bone.
- Visual Indicators:
- Pull-Back: The meat should pull back from the bones, exposing about a quarter inch of bone. This is a good sign that the ribs are almost done.
- Tenderness Test: Insert a toothpick or fork into the meat—it should slide in easily with minimal resistance, indicating that the ribs are tender.
When you see these signs, your ribs are ready to be taken off the grill.
7. Adding the Finishing Touch with BBQ Sauce
For a sticky, flavorful finish, add BBQ sauce during the final stage of grilling.
- When to Add BBQ Sauce:
- Apply sauce in the last 15-20 minutes of grilling. This timing prevents the sugars in the sauce from burning, which can result in a bitter taste.
- Layering for Flavor: Brush on a thin layer of sauce and let it caramelize slightly before adding more. This layering process builds a rich, sticky coating.
- Types of BBQ Sauce:
- Classic BBQ Sauce: A smoky, tangy sauce pairs beautifully with beef ribs.
- Sweet or Spicy Options: Try a honey-based sauce for added sweetness or a chipotle sauce for a spicy kick.
Adding BBQ sauce at the right time gives the ribs a shiny, flavorful finish that enhances the overall taste.
8. Resting and Slicing the Ribs
After cooking, let the ribs rest before slicing. This allows the juices to redistribute, keeping each bite moist and flavorful.
- Importance of Resting:
- Let the ribs rest for 10-15 minutes. This step helps retain moisture and ensures each bite is juicy.
- How to Slice the Ribs:
- Slice between the bones to create individual rib portions. Arrange on a platter for easy serving, and garnish with fresh herbs like parsley or green onions for added color.
Resting and proper slicing make the ribs easier to eat and improve presentation.
9. Common Beginner Mistakes to Avoid
Avoiding common mistakes can help ensure your ribs turn out perfectly every time.
- Cooking at Too High a Temperature: High heat can dry out ribs quickly, so stick to a low, steady temperature.
- Skipping Membrane Removal: The membrane adds toughness and prevents seasonings from fully absorbing.
- Inconsistent Temperature Control: Frequent temperature changes can lead to uneven cooking, so use a thermometer to monitor your grill.
- Applying Sauce Too Early: Saucing too early can result in burnt, bitter ribs. Wait until the last 15-20 minutes for the best results.

10. Frequently Asked Questions (FAQ)
- How Long Does It Take to Grill Beef Ribs?
- Typically, it takes about 3-4 hours at 225°F to 250°F for tender, juicy ribs.
- Can I Grill Beef Ribs on a Gas Grill?
- Yes, use indirect heat and add wood chips for a smoky flavor.
- What’s the Best Way to Reheat BBQ Beef Ribs Without Drying Them Out?
- Reheat in a 250°F oven, covered with foil to retain moisture.
- Can You Freeze Leftover BBQ Beef Ribs?
- Yes, wrap tightly in foil and place in an airtight container before freezing.
Conclusion
With these steps, you can grill juicy, flavorful beef ribs that will impress everyone at your BBQ. By choosing the right ribs, seasoning them well, setting up your grill correctly, and using the right grilling techniques, you’ll be on your way to creating BBQ ribs that are fall-off-the-bone tender and delicious. Don’t be afraid to experiment with flavors, sauces, and marinades to find your signature BBQ style!

