The aroma of freshly baked sugar cookies takes me right back to my grandmother’s kitchen during the holidays. There’s something truly magical about a simple, perfectly baked, and beautifully decorated sugar cookie. But let’s be honest, achieving those picture-perfect, uniformly iced sugar cookies that look like they came straight from a bakery can feel a little daunting. For years, my cookies were delicious but… rustic. That all changed when I discovered that the secret wasn’t just in the recipe, but in having the right tools for the job.
Why You’ll Love This Dish
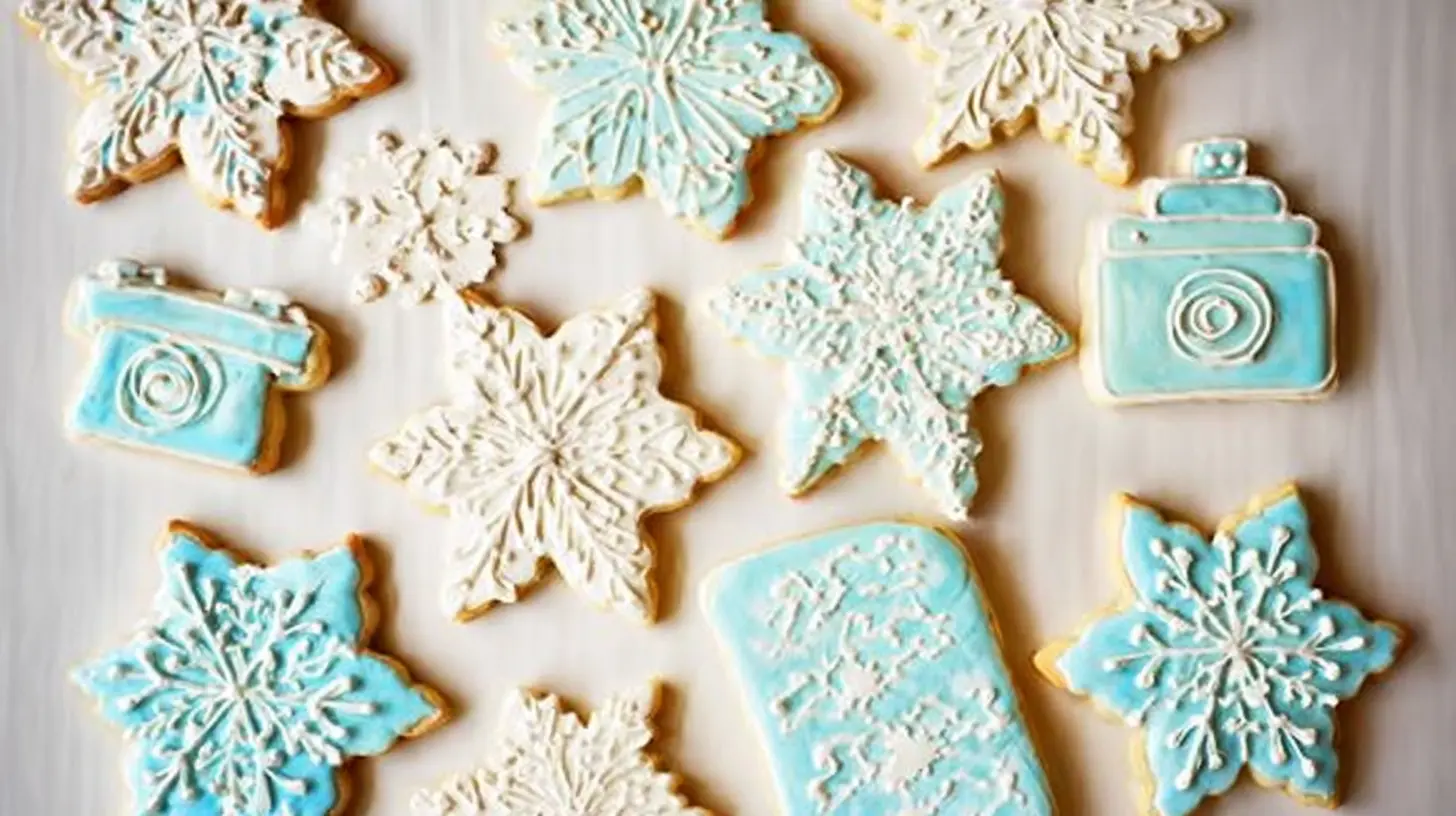
If you’ve ever admired those stunning sugar cookies online or in a shop window and wished you could make them, this guide is for you. This isn’t just about baking; it’s about elevating your cookie game to an art form. You’ll love the satisfaction of creating cookies that taste incredible and look even better. These iced sugar cookies are perfect for holidays, birthdays, baby showers, or just a delightful weekend baking project. They make fantastic gifts, conversation starters, and a truly impressive treat that shows off your baking prowess.
> “I used to shy away from decorated cookies, thinking they were too hard. But with this guide to the essential tools, my cookies have gone from ‘homemade’ to ‘homemade and gorgeous!’ It’s a game-changer!” — A Happy Baker
Preparing Iced Sugar Cookies
The process of making expertly iced sugar cookies involves a few key stages: mixing and chilling the dough, baking the cookies to perfection, and then the fun, artistic part – decorating. While the dough recipe itself is straightforward, the magic truly happens when you have the right gear to roll, cut, and meticulously ice each cookie. This overview will focus on the tools that elevate your cookies from good to gourmet.
What You’ll Need
To embark on your journey to professional-looking iced sugar cookies, gather these essential items:
- Parchment paper: Crucial for non-stick baking and easy cleanup.
- Good quality sugar cookie dough ingredients: Eggs, butter, flour, sugar, vanilla extract, baking powder, and a pinch of salt. (We’ll assume you have a favorite recipe or will be making one from scratch.)
- Royal icing ingredients: Powdered sugar, meringue powder (or egg whites), water, and vanilla/almond extract.
- Gel food coloring: For vibrant, rich icing colors that won’t thin your icing.
The 8 Game-Changing Tools:
- Adjustable Rolling Pin: This is a non-negotiable for evenly thick cookies (and thus, evenly baked cookies!). It comes with removable discs that dictate dough thickness.
- Cookie Cutters (Metal): A good variety of shapes and sizes allows for endless creativity. Metal cutters provide cleaner edges than plastic.
- Baking Sheets (Heavy-Duty, Light-Colored): Ensure even heat distribution and prevent burnt bottoms.
- Squeeze Bottles/Tipless Piping Bags: For precision flooding of the icing. Squeeze bottles are great for larger areas, tipless bags for both outlining and flooding.
- Piping Tips (Small Round, e.g., PME #1.5 or Wilton #2): Essential for intricate outlining and detailed work.
- Scribe Tool/Toothpicks: For popping air bubbles in wet icing, smoothing, and manipulating wet-on-wet designs.
- Dehydrator or Fan: To speed up the drying process of royal icing, giving a hard, durable finish and preventing colors from bleeding.
- Silicone Drying Mats/Trays: Provide a non-stick surface for cookies to dry on without sticking or getting marred.
Directions to Follow
While specific measurements vary based on your chosen cookie and icing recipes, here’s a general flow enhanced by our 8 tools:
- Prepare Cookie Dough: Make your favorite sugar cookie dough. Divide it, wrap it in plastic, and chill it thoroughly (at least 2 hours, or overnight) – this prevents spreading.
- Roll the Dough: On a lightly floured surface or between two sheets of parchment paper, use your adjustable rolling pin to roll the chilled dough to an even thickness (e.g., 1/4 inch). The consistent thickness is vital for even baking.
- Cut the Cookies: Dip your metal cookie cutters in flour and cut out your desired shapes. Place cookies gently on a parchment-lined, heavy-duty baking sheet. Re-roll scraps only once or twice to avoid tough cookies.
- Bake: Bake in a preheated oven until edges are lightly golden, ensuring they are fully cooked but not overly browned. Let them cool completely on a wire rack before decorating.
- Prepare Royal Icing: Make your royal icing. Divide it, and color portions with gel food coloring to your desired shades. Prepare both “outline” (thicker) and “flood” (thinner) consistencies for each color.
- Outline Cookies: Fill your tipless piping bags with small round piping tips (or very fine holes cut) with the outline consistency icing. Carefully pipe an outline around the edge of each cooled cookie. Let this dry for about 10-15 minutes.
- Flood Cookies: Fill squeeze bottles or new tipless piping bags with flood consistency icing. Fill in the outlined area, gently pushing the icing to the edges.
- Smooth and Detail: Use your scribe tool or toothpick to smooth any air bubbles and push icing to the edges. If doing wet-on-wet designs, add them now before the flood icing dries.
- Dry Cookies: Transfer the decorated cookies to your silicone drying mats. Place them in a dehydrator (on a low setting, around 95-100°F / 35-38°C) or near a fan to speed up the drying process. This hardens the icing and prevents color bleed. Allow at least 4-6 hours, or ideally overnight, for complete drying.
- Add Details (Optional): Once the base layer is completely dry, you can use outline consistency icing and piping tips for additional intricate designs.
Best Ways to Enjoy It
Iced sugar cookies are truly a celebration in themselves! Serve them on a beautiful platter at holiday gatherings, birthday parties, or afternoon tea. They’re also fantastic edible gifts packaged in cellophane bags with ribbons. Pair them with a warm cup of coffee or hot cocoa for a comforting treat. Don’t be afraid to arrange them creatively – stack them, layer them, or create a mosaic of colors and shapes.
How to Store & Freeze
Once your royal icing is completely dry and hard (usually 8-12 hours after decorating), your iced sugar cookies can be stored at room temperature in an airtight container for up to 2-3 weeks. Layer them gently with parchment paper in between to prevent sticking or damage to the icing.
For longer storage, fully iced and dried sugar cookies freeze beautifully. Place them in a single layer on a baking sheet to freeze solid, then transfer them to an airtight freezer-safe container, again with parchment paper between layers. They can be frozen for up to 3 months. To thaw, simply take them out of the freezer and let them come to room temperature in the sealed container before opening, which helps prevent condensation from marring the icing.
Tricks for Success
- Don’t overmix your dough: This develops gluten, leading to tougher cookies. Mix just until combined.
- Always chill your dough: This is crucial. Warm dough spreads easily, losing its shape.
- Bake by sight, not strictly by time: Ovens vary. Look for light golden edges.
- Consistency is key for royal icing: Practice achieving the right “outline” (slow flowing, like honey) and “flood” (faster flowing, like shampoo) consistencies. This often takes trial and error.
- Patience with drying: Don’t rush the drying process, especially between layers of icing. A fully dry base prevents colors from bleeding into each other.
- Clean your tools immediately: Royal icing dries fast and hardens like cement! Wash piping tips and bags right away.
Creative Twists
- Flavor your dough: Add citrus zest (lemon, orange), almond extract, or even a touch of cardamom to your cookie dough for an extra flavor dimension.
- Icing Flavors: Don’t limit yourself to vanilla! Add almond, lemon, or even a clear peppermint extract to your royal icing.
- Beyond Basic Shapes: Explore seasonal cookie cutters or custom shapes for truly unique cookies.
- Add Sprinkles & Edible Glitter: Before the wet icing fully dries, sprinkle on some edible glitter, nonpareils, or sanding sugar for extra sparkle and texture.
- Embrace Hand-Painting: Once the base layer of icing is fully dry, use edible food markers or food-grade paintbrushes with gel food coloring thinned with clear alcohol (like vodka or lemon extract) to add intricate hand-painted details.
FAQ
Why do my sugar cookies spread and lose their shape when baking?
A: The most common culprits are insufficient chilling of the dough, too much butter (or butter that’s too soft when mixed), or over-mixing the dough. Ensure your dough is thoroughly chilled, and don’t add too much flour when rolling, as that can make them tough.Can I make royal icing without meringue powder?
A: Yes, you can use fresh egg whites, but ensure they are pasteurized for safety, especially if serving to vulnerable populations. Meringue powder is generally preferred by home bakers for consistency, stability, and safety.My royal icing is too thick/thin. How do I fix it?
A: If it’s too thick, add water (or lemon juice for flavor) a tiny drop at a time, stirring well after each addition. If it’s too thin, sift in more powdered sugar, a tablespoon at a time, until the desired consistency is reached. Always aim for outline first, then thin down to flood.
Classic Iced Sugar Cookies
Equipment
- Medium bowl
- Large bowl
- Electric mixer
- Plastic wrap
- Baking sheets
- Parchment paper
- Silicone mats
- Rolling pin
- Cookie cutters
- Wire rack
- Piping bags
- Small round tips
Ingredients
For the Cookies:
- 3 cups all-purpose flour
- 1 teaspoon baking powder
- 1/2 teaspoon salt
- 1 cup unsalted butter (2 sticks), softened
- 1 cup granulated sugar
- 1 large egg
- 1 teaspoon vanilla extract
For the Royal Icing:
- 4 cups powdered sugar (about 1 lb), sifted
- 3 tablespoons meringue powder
- 1/2 teaspoon vanilla extract
- 1/4 teaspoon almond extract (optional)
- 6-8 tablespoons warm water
- Gel food coloring (optional)
Instructions
Cookies
- Whisk together flour, baking powder, and salt in a medium bowl.
- Cream softened butter and granulated sugar in a large bowl with an electric mixer until light and fluffy.
- Beat in the egg and vanilla extract until just combined, scraping down the sides of the bowl.
- Gradually add dry ingredients to wet ingredients, mixing on low speed until just combined without overmixing.
- Divide dough in half, flatten into discs, wrap, and refrigerate for at least 1 hour.
- Preheat oven to 375°F (190°C) and line baking sheets with parchment paper or silicone mats.
- Roll out one disc of chilled dough to 1/4-inch thickness and cut out shapes with cookie cutters.
- Transfer cookies to prepared baking sheets and bake for 8-11 minutes until edges are lightly golden.
- Cool cookies on baking sheets for a few minutes before transferring to a wire rack to cool completely.
Royal Icing & Decorating
- Combine sifted powdered sugar and meringue powder in a large bowl, then slowly add warm water, vanilla, and almond extract; mix on low until combined.
- Increase mixer speed to medium-high and beat until icing is glossy and holds stiff peaks, about 5-7 minutes; adjust consistency with water or powdered sugar.
- Divide icing into separate bowls and color with gel food coloring.
- Transfer icing to piping bags and decorate cookies, allowing each layer to dry completely before adding more details or stacking.