I used to think making cupcakes from scratch was a huge undertaking, reserved for seasoned bakers with endless patience. Turns out, I was just overthinking it! These easy vanilla cupcakes completely changed my perspective. They’re surprisingly simple, yet deliver that moist, fluffy texture and rich vanilla flavor that makes people ask for the recipe every single time. It’s the kind of treat that brightens any day, whether you’re celebrating a birthday or just craving something sweet and homemade.
Why you’ll love this dish
Forget dry, crumbly cupcakes that taste like they came from a box. This recipe focuses on creating a soft, tender crumb and a robust vanilla flavor that truly shines. It’s incredibly satisfying to pull a tray of perfectly golden, fragrant cupcakes from the oven, and even more so when you see the delighted faces of those who taste them. These are ideal for pretty much any occasion – a quick pick-me-up, a school bake sale, or the star of a casual get-together. They’re straightforward enough for beginners but yield results impressive enough for experienced bakers.
> “I’ve tried so many vanilla cupcake recipes, and this one is by far the best! They come out consistently moist and delicious, and the tips for preventing dryness really work. My family devours them!” – A Happy Baker
The cooking process explained
Creating these easy vanilla cupcakes involves a few simple steps. First, you’ll combine the dry ingredients, setting the stage for the cake’s structure. Then, the wet ingredients – butter, sugar, eggs, and vanilla – are creamed together until light and fluffy, incorporating air for that lovely rise. The dry and wet mixtures are then gently folded together, followed by the addition of milk to keep everything wonderfully moist. Finally, portioning the batter into cupcake liners and baking them until golden completes the process. It’s a straightforward method that guarantees delicious results.
What you’ll need
Gathering your ingredients first makes the process so much smoother. For these delightful vanilla cupcakes, you’re looking at pantry staples that come together beautifully.
- All-purpose flour: The foundation of our cupcakes, providing structure.
- Granulated sugar: For sweetness and to help tenderize the crumb.
- Baking powder: Our leavening agent, giving the cupcakes their lift and lightness.
- Salt: Just a pinch enhances all the other flavors.
- Unsalted butter: Make sure it’s softened to room temperature for the best creaming.
- Large eggs: Also at room temperature, to ensure they emulsify properly with the butter and sugar.
- Vanilla extract: Don’t skimp here! A good quality vanilla makes all the difference.
- Milk: Whole milk works best for richness, but 2% is also fine. Room temperature milk incorporates more easily into the batter.
Directions to follow
Let’s get baking! Follow these steps for perfect easy vanilla cupcakes every time.
- Preheat and Prep: Preheat your oven to 350°F (175°C). Line a 12-cup muffin tin with paper cupcake liners.
- Combine Dry Ingredients: In a medium bowl, whisk together the flour, baking powder, and salt. Set aside.
- Cream Butter and Sugar: In a large bowl, using an electric mixer, beat the softened butter and granulated sugar together on medium-high speed until light and fluffy, about 2-3 minutes. Scrape down the sides of the bowl as needed.
- Add Eggs and Vanilla: Add the eggs one at a time, beating well after each addition until just combined. Stir in the vanilla extract.
- Alternate Dry and Wet: With the mixer on low speed, gradually add about one-third of the dry ingredient mixture to the wet ingredients, mixing until just combined. Then, pour in half of the milk and mix until just incorporated. Repeat with another third of the dry ingredients, then the remaining milk, and finally the last of the dry ingredients. Mix only until the batter is smooth and no streaks of flour remain – overmixing can lead to tough cupcakes.
- Fill Liners: Divide the batter evenly among the prepared cupcake liners, filling each about two-thirds full.
- Bake: Bake for 18-22 minutes, or until a wooden skewer inserted into the center of a cupcake comes out clean.
- Cool: Let the cupcakes cool in the muffin tin for 5 minutes before transferring them to a wire rack to cool completely. Once fully cooled, they’re ready for frosting!
How to serve it
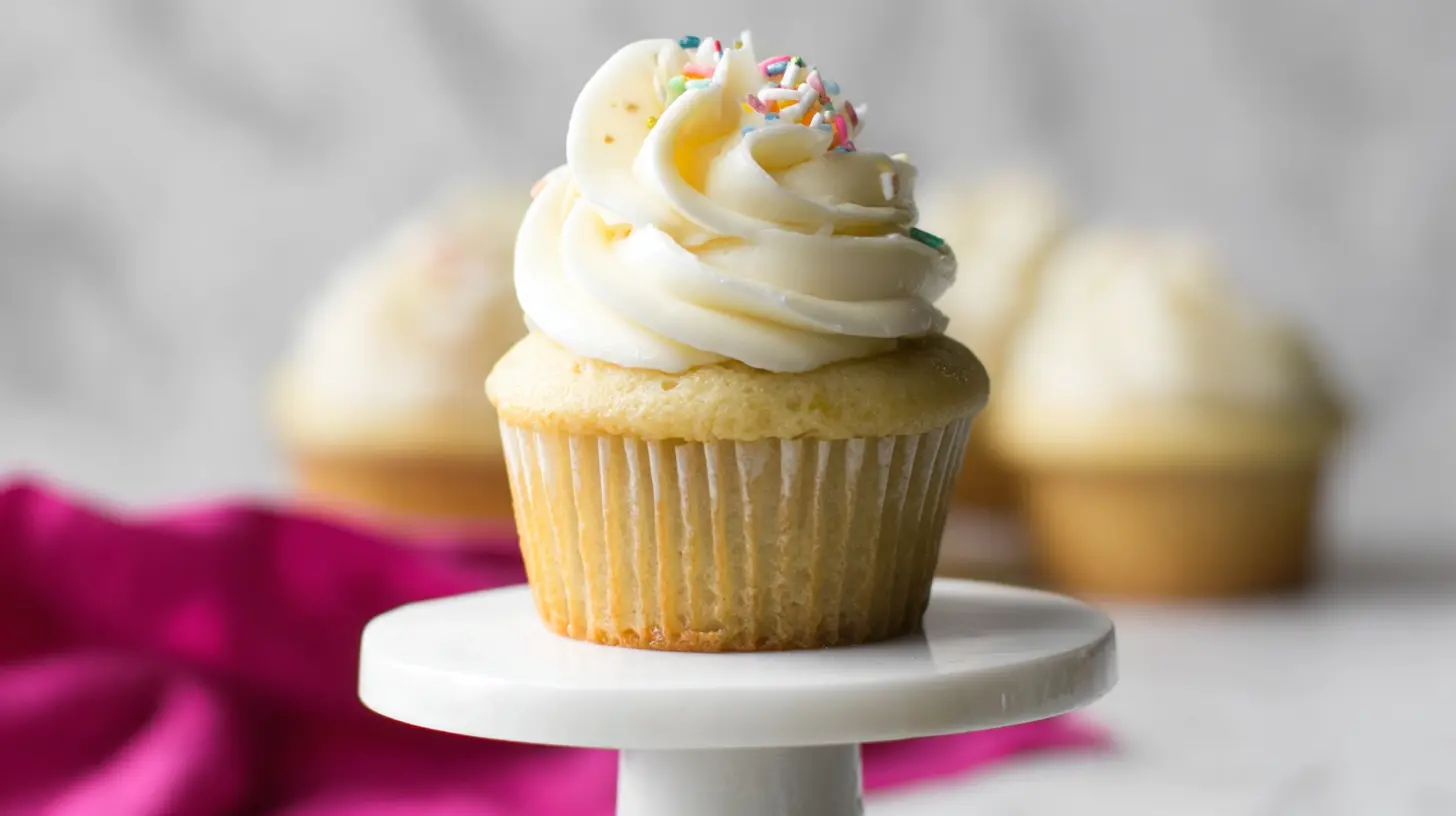
These easy vanilla cupcakes are incredibly versatile, ready to be enjoyed in many ways. While they’re delicious on their own, a simple swirl of your favorite buttercream (vanilla, chocolate, or even a flavored one like strawberry) elevates them instantly. For a special touch, consider sprinkles, a fresh berry on top, or a delicate dusting of powdered sugar. They’re perfect alongside a cup of coffee or tea for an afternoon treat, or as the sweet ending to any meal. They’re also fantastic for school lunchboxes or as a homemade gift for friends and neighbors.
Keeping leftovers fresh
To ensure your delicious cupcakes stay fresh and moist, proper storage is key. Once completely cooled, store them in an airtight container at room temperature for up to 3-4 days. If they’re frosted with a cream cheese or perishable buttercream, it’s best to store them in the refrigerator, allowing them to come to room temperature for about 15-20 minutes before serving for the best texture.
For longer storage, unfrosted cupcakes can be frozen. Wrap each cupcake individually in plastic wrap, then place them in a freezer-safe bag or container. They’ll keep well for up to 2-3 months. Thaw them at room temperature before frosting and serving.
Helpful cooking tips
- Room Temperature Ingredients: This is not just a suggestion! Softened butter, room temperature eggs, and milk emulsify better, creating a smoother, more uniform batter and a more tender crumb.
- Don’t Overmix: Overmixing develops the gluten in the flour, leading to tough, dense cupcakes. Mix only until the ingredients are just combined and no dry streaks remain.
- Fill Evenly: Use an ice cream scoop or measuring cup to portion the batter into the liners. This ensures consistent size and baking time for all your cupcakes.
- The Skewer Test: A wooden skewer inserted into the center should come out clean, possibly with a few moist crumbs attached, but not wet batter.
- Cool Completely Before Frosting: Trying to frost warm cupcakes is a recipe for disaster – the frosting will melt and slide right off. Patience is a virtue here!
Recipe variations
While classic vanilla is wonderful, these cupcakes are a fantastic base for creativity!
- Lemon Vanilla: Add 1-2 teaspoons of lemon zest to the batter along with the vanilla for a bright, citrusy twist.
- Almond Vanilla: Swap out half of the vanilla extract for almond extract for a delicate, nutty flavor.
- Confetti Fun: Fold in 1/4 cup of colorful sprinkles (jimmie or nonpareil style) into the batter just before filling the liners for a fun ‘funfetti’ cupcake.
- Chocolate Chip: Gently fold in 1/2 cup of mini chocolate chips for a little bite of chocolate in every vanilla mouthful.
- Different Frostings: Don’t limit yourself to vanilla buttercream! Try chocolate ganache, raspberry frosting, or a simple lemon glaze.
Common questions
How can I make sure my cupcakes don’t come out dry?
The key to moist cupcakes is using room temperature ingredients, not overmixing the batter, and being careful not to overbake. As soon as a wooden skewer comes out clean, take them out of the oven! Even a minute or two extra can dry them out.
Can I make these dairy-free or gluten-free?
For a dairy-free version, you can substitute plant-based milk (like almond or soy milk) and use a dairy-free butter alternative. For gluten-free, use a 1:1 gluten-free baking flour blend that contains xanthan gum, and follow the same mixing instructions carefully. Results may vary slightly.
How far in advance can I make these cupcakes?
You can bake the cupcakes one day in advance of when you plan to serve them. Store them unfrosted in an airtight container at room temperature. Frost them on the day of serving for the freshest look and taste. If you need to prepare further ahead, consider freezing the unfrosted cupcakes as described in the storage section.
Classic Easy Vanilla Cupcakes
Equipment
- Oven
- 12-cup muffin tin
- Paper liners
- Medium bowl
- Large bowl
- Electric mixer
- Wooden skewer or toothpick
- Wire rack
Ingredients
Main Ingredients
- 1 1/2 cups all-purpose flour
- 1 1/2 teaspoons baking powder
- 1/4 teaspoon salt
- 1/2 cup unsalted butter (1 stick), softened
- 1 cup granulated sugar
- 2 large eggs room temperature
- 1 teaspoon pure vanilla extract
- 1/2 cup milk room temperature
Instructions
Instructions
- Preheat oven to 350°F (175°C) and line a 12-cup muffin tin with paper liners.
- In a medium bowl, whisk together the flour, baking powder, and salt. Set aside.
- In a large bowl, cream together the softened butter and granulated sugar using an electric mixer until light, fluffy, and pale.
- Beat in the eggs one at a time, mixing well after each addition, then stir in the vanilla extract.
- With the mixer on low speed, gradually add one-third of the dry ingredients, then half of the milk, repeating until all ingredients are just combined.
- Divide the batter evenly among the prepared cupcake liners, filling each about two-thirds full.
- Bake for 18-22 minutes, or until a wooden skewer inserted into the center comes out clean.
- Remove from oven and let cupcakes cool in the tin briefly before transferring to a wire rack to cool completely.