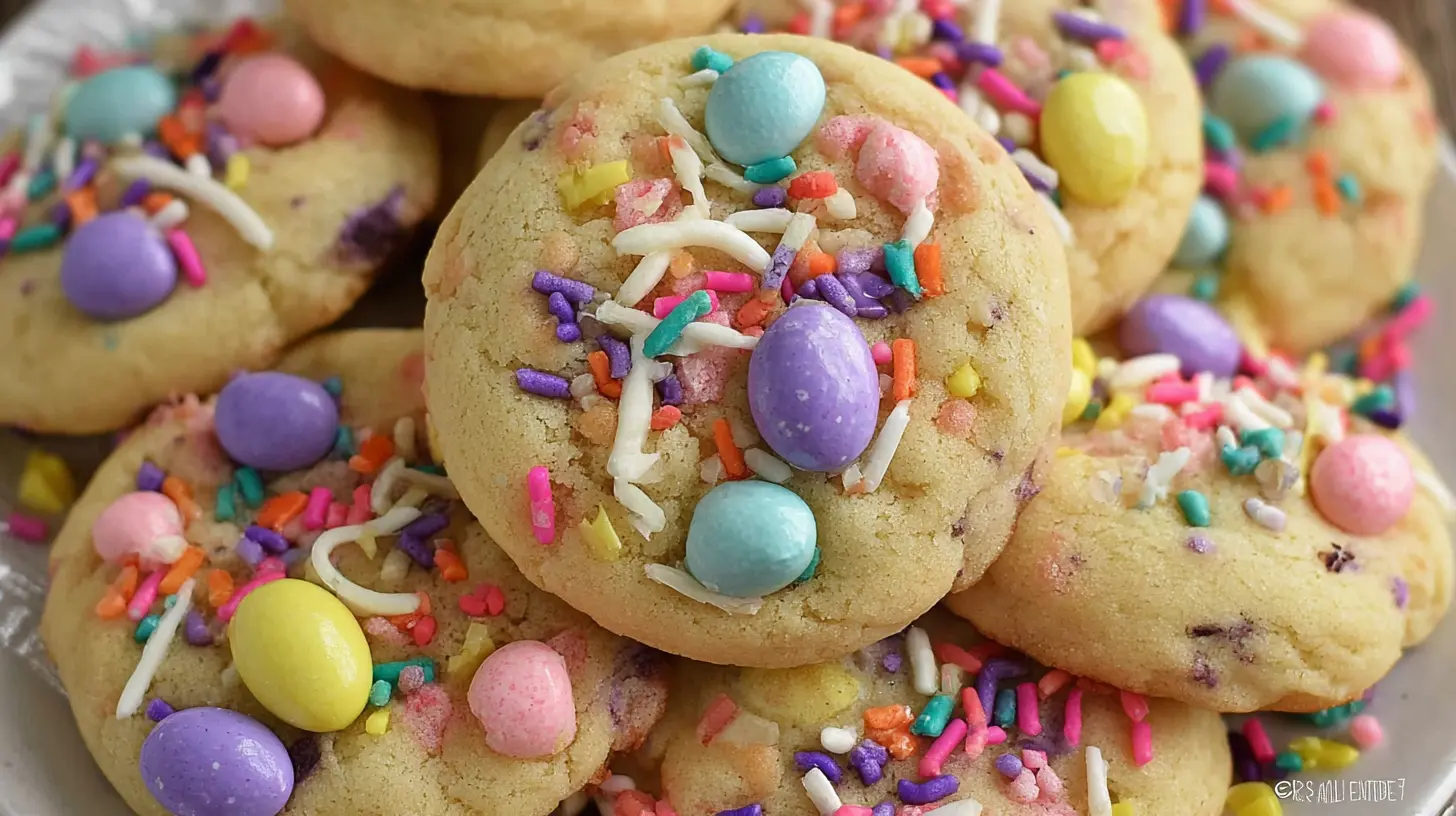
Sometimes, the simplest things bring the most joy, and for me, that’s definitely true when it comes to baking during the holidays. There’s nothing quite like the aroma of freshly baked cookies filling the kitchen, especially around Easter. This year, I’ve dived deep into my recipe box to pull out my absolute favorite Easter cookie recipes. We’re talking about four delightful picks that are guaranteed to add a sprinkle of magic and sweetness to your celebrations. Get ready to bake some memories!
Why You’ll Love These Easter Cookie Recipes
What makes these cookies so special? For starters, they’re more than just a treat; they’re an experience. Each recipe has been chosen for its unique charm, ease of preparation, and undeniable ability to bring smiles. Whether you’re a seasoned baker or just starting out, you’ll find a recipe here that perfectly fits your skill level and taste preferences. They’re fantastic for a family baking day, a beautiful addition to your Easter brunch dessert table, or even a thoughtful homemade gift. They’re quick enough for a weeknight bake, yet special enough for the holiday.
> “These Easter cookies were a huge hit at our family gathering! Easy to follow recipes and absolutely delicious. Everyone asked for the recipes!” – A Happy Home Baker
The Cooking Process Explained
Making these Easter cookies is a truly enjoyable journey. We’ll cover everything from mixing simple doughs that come together in a snap, to the fun part of decorating with vibrant spring colors. The beauty of these recipes is their approachable nature. You won’t find overly complicated techniques here – just straightforward steps designed to yield delicious results every time. Think soft, chewy cookies, crisp cutout creations, and delightful no-bake options that let your creativity shine.
Key Ingredients
To whip up these delightful Easter cookies, you’ll generally need some baking staples along with a few special touches for that festive flair.
- All-purpose flour: The foundation of most of our cookies.
- Granulated sugar & brown sugar: For sweetness and texture.
- Butter: Unsalted, softened for the best results and flavor.
- Eggs: Binders that add richness.
- Vanilla extract: A must-have flavor enhancer.
- Baking powder/soda: For lift and tenderness.
- Salt: To balance the sweetness.
- Powdered sugar: Essential for glazes and frostings.
- Milk or lemon juice: For glaze consistency.
- Food coloring: Gel colors work best for vibrant pastels.
- Easter-themed sprinkles: For that extra fun touch!
- Optional additions: Shredded coconut, mini chocolate chips, cocoa powder, meringue powder.
Directions to Follow
Here’s a general outline, but remember to follow the specific instructions for each of the four recipes you choose from the guide!
- Prep the Dough: Depending on the cookie type, this might involve creaming butter and sugar, mixing dry ingredients, and then combining everything until just incorporated. Avoid overmixing.
- Chill (if required): For cutout cookies, chilling the dough is crucial for easy handling and preventing spread.
- Shape or Roll: Roll out dough for cutouts, or scoop dough for drop cookies.
- Bake: Follow temperature and time guidelines. Keep an eye on them – baking times can vary slightly by oven. Cookies are often done when edges are lightly golden.
- Cool: Let cookies cool on the baking sheet for a few minutes before transferring to a wire rack to cool completely.
- Decorate: Once fully cooled, unleash your creativity with glazes, frostings, and sprinkles!
How to Serve These Easter Cookies
These festive cookies are incredibly versatile! They are, of course, perfect as a standalone sweet treat after an Easter meal. Arrange them on a pretty platter with a mix of colors and shapes to create a stunning centerpiece. They also make wonderful additions to an Easter dessert buffet alongside cakes and pies. For a charming touch, package a few in small bags with ribbons to give as hostess gifts or party favors. Don’t forget to pair them with a warm cup of coffee or a cold glass of milk for the ultimate indulgence!
How to Store & Freeze
To keep your Easter cookies fresh and delicious:
- Room Temperature: Store most baked cookies in an airtight container at room temperature for 3-5 days. If they are frosted, especially with cream cheese frosting, they may need refrigeration.
- Refrigeration: Frosted cookies or those with perishable fillings should be refrigerated in an airtight container for up to a week. Let them come to room temperature before serving for the best texture.
- Freezing Baked Cookies: Most non-frosted cookies freeze beautifully. Once completely cooled, place them in a single layer on a baking sheet to flash freeze for about 30 minutes. Then, transfer to a freezer-safe bag or container, separating layers with parchment paper. They can be frozen for up to 2-3 months. Thaw at room temperature.
- Freezing Dough: Many cookie doughs can be frozen. Wrap tightly in plastic wrap and then in foil, or store in a freezer-safe bag. Thaw in the refrigerator before baking as directed.
Helpful Cooking Tips
- Room Temperature Ingredients: Always ensure butter and eggs are at room temperature unless the recipe explicitly states otherwise. This helps them cream together smoothly, resulting in a better texture.
- Measure Flour Correctly: Spoon flour into your measuring cup and then level it off with a straight edge. Dipping the cup directly into the flour can compact it, leading to too much flour and dry cookies.
- Don’t Overmix: Once you add flour, mix until just combined. Overmixing develops the gluten, which can lead to tough cookies.
- Chill Dough: For cutout cookies especially, chilling the dough for at least 30 minutes (or as directed) is essential. It firms up the butter, making the dough easier to handle and preventing excessive spreading in the oven.
- Parchment Paper: Always line your baking sheets with parchment paper. It ensures even baking, prevents sticking, and makes cleanup a breeze.
- Cool Completely Before Decorating: Attempting to frost or glaze warm cookies will result in melted, messy decorations. Patience is key!
Creative Twists
These recipes are fantastic starting points, but don’t be afraid to add your own flair!
- Flavor Swaps: Try switching up extracts! Lemon, almond, or even a hint of mint can give your cookies a fresh twist.
- Color Combinations: Instead of traditional pastels, experiment with brighter, bolder colors, or even metallics for a more elegant look.
- Toppings Galore: Beyond sprinkles, consider using edible glitter, mini candy eggs, toasted coconut, or finely chopped nuts for texture.
- Dietary Adjustments: Many of these recipes can be adapted. Use gluten-free flour blends for a GF version (ensure xanthan gum is included or added). You might also explore dairy-free butter alternatives. Always check ingredient labels.
FAQ
Q1: Can I make the cookie dough ahead of time?
A1: Absolutely! Most cookie doughs can be made 1-2 days in advance and stored in the refrigerator, tightly wrapped. This is a fantastic time-saver, especially when preparing for a busy holiday. Some doughs can even be frozen for longer storage (see ‘How to Store’ section).
Q2: My cutout cookies are spreading too much. What am I doing wrong?
A2: There are a few common culprits! Ensure your butter isn’t too warm when you start, and definitely chill your dough thoroughly before rolling and cutting. Also, avoid adding too much flour when rolling out the dough, as this can make the cookies dry. Make sure your oven temperature is accurate – if it’s too low, cookies will spread before they set.
Q3: What’s the best way to get vibrant colors in my frosting?
A3: For truly vibrant and saturated colors, gel food coloring is your best friend. It’s much more concentrated than liquid food coloring, meaning you need less of it to achieve bright hues, and it won’t thin out your frosting as much. Start with a tiny drop and add more until you reach your desired shade.
Classic Easter Sugar Cookies
Equipment
- Oven
- Baking sheets
- Parchment paper or silicone mats
- Large bowl
- Mixer
- Medium bowl
- Whisk
- Plastic wrap
- Rolling pin
- Easter-themed cookie cutters
- Wire rack
Ingredients
Cookie Dough
- 1 cup unsalted butter, softened
- 1 ½ cups granulated sugar
- 2 large eggs
- 1 teaspoon vanilla extract
- 3 cups all-purpose flour
- 1 teaspoon baking powder
- ½ teaspoon salt
- Food coloring pastel colors: pink, yellow, blue, green
Decoration
- Royal icing components meringue powder, powdered sugar, water
- Sprinkles for decoration
Instructions
Baking
- Preheat your oven to 350°F (175°C) and prepare baking sheets with parchment paper or silicone mats.
- Cream together the softened butter and granulated sugar in a large bowl until light and fluffy.
- Beat in the eggs one at a time, followed by the vanilla extract.
- In a separate bowl, whisk together the flour, baking powder, and salt.
- Gradually add the dry ingredients to the wet ingredients, mixing on low speed until just combined, being careful not to overmix.
- Divide the dough and knead in desired pastel food colorings.
- Wrap the dough in plastic wrap and chill for at least 30 minutes, or up to 2 hours.
- On a lightly floured surface, roll out the chilled dough to about ¼ inch thickness.
- Use Easter-themed cookie cutters to cut out shapes and carefully place them on the prepared baking sheets, leaving about 1 inch between them.
- Bake for 8-10 minutes, or until the edges are lightly golden, then transfer cookies to a wire rack to cool completely.
Decorating
- Prepare royal icing according to package directions, dividing and coloring it with food coloring as desired.
- Decorate the cooled cookies with royal icing and sprinkles, then let the icing set completely before storing or serving.