I remember the first time I whipped up a batch of these Cookie Butter Cheesecake Cups. It was a sweltering summer day, and the thought of turning on the oven was simply unbearable. I was craving something rich and creamy, a little bit sophisticated, but definitely not a project. And that’s exactly what these little beauties delivered – pure, unadulterated dessert bliss without breaking a sweat. If you’re looking for an impressive yet effortless treat that packs a serious flavor punch, you’ve stumbled upon a true gem.
What Makes This Recipe Special
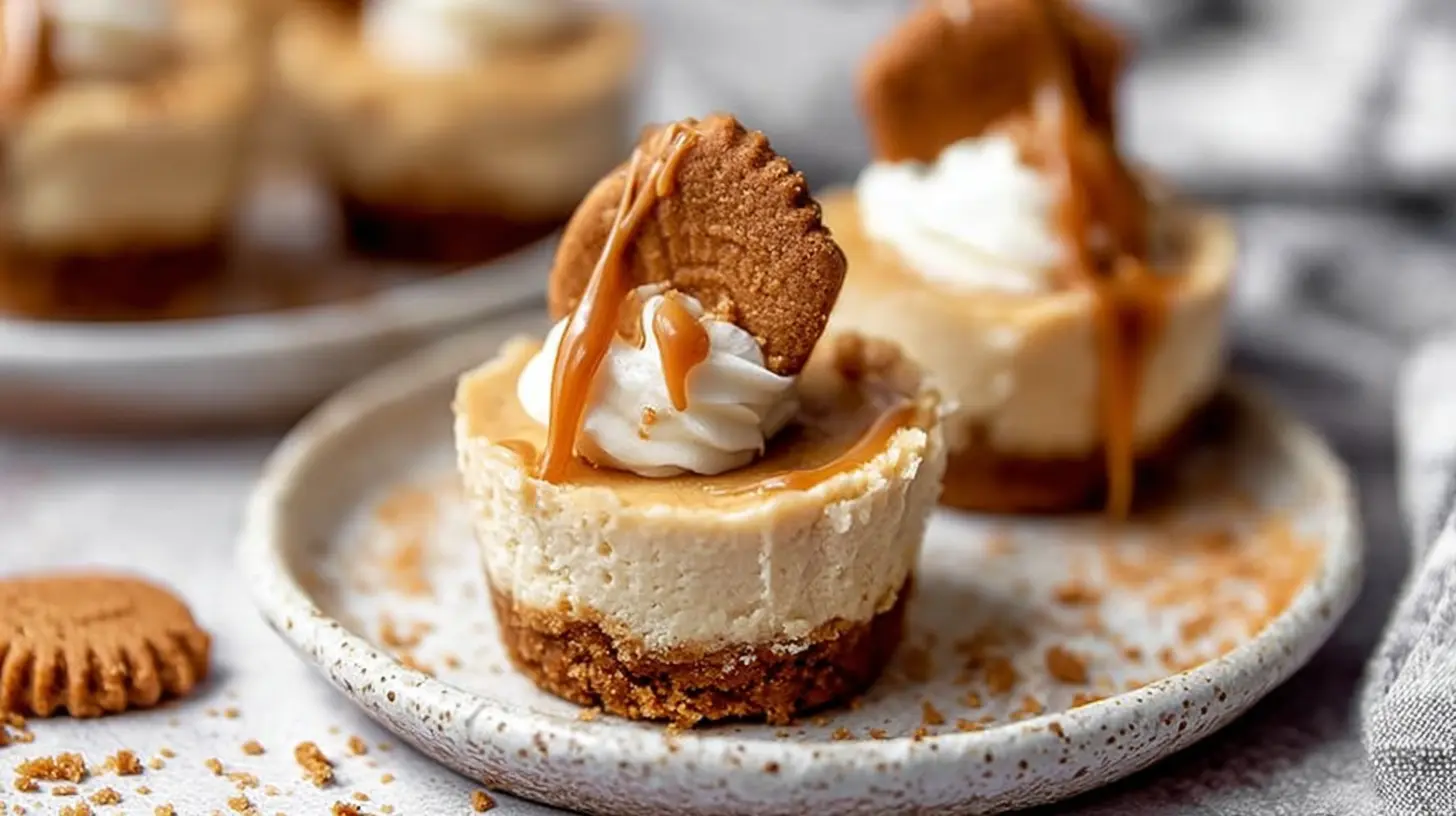
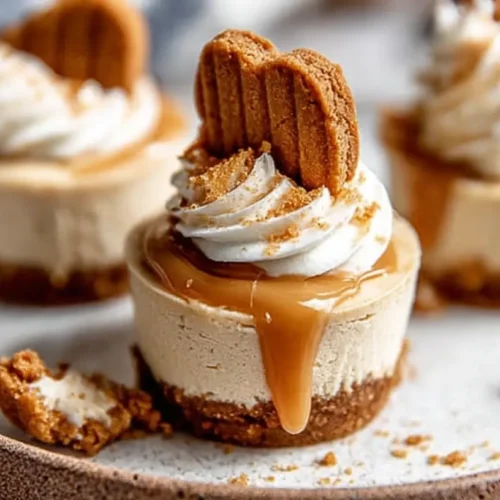
There’s just something inherently magical about cookie butter, isn’t there? That spiced, caramelized biscuit flavor instantly transports you to a cozy café. Now, imagine that distinct deliciousness swirled into a smooth, tangy cheesecake filling, all nestled in a perfect, bite-sized cup. These Cookie Butter Cheesecake Cups aren’t just easy – ‘no-bake’ is the ultimate dessert superpower, especially for those impromptu gatherings or when you just want to satisfy a sweet craving without all the fuss. They’re quick enough for a weeknight but elegant enough to impress guests at a dinner party. Plus, who can resist an individual dessert that’s perfectly portioned and utterly adorable?
> “I made these for a potluck and they disappeared in minutes! Everyone wanted the recipe. So easy and incredibly delicious – my new go-to!” – A Satisfied Home Cook
Preparing Cookie Butter Cheesecake Cups
The beauty of these cheesecake cups lies in their simplicity. You’ll start by making a quick, buttery crust, pressing it into muffin liners. Then, the creamy, dreamy cookie butter cheesecake filling comes together in a flash with just a few ingredients, no baking required! Once chilled, they firm up beautifully, ready for a decadent dollop of whipped cream and a sprinkle of cookie crumbles. It’s an assembly line of deliciousness that yields impressive results with minimal effort.
What You’ll Need
For the Crust:
- 1 ½ cups crushed Biscoff cookies (about 1 package)
- ¼ cup unsalted butter, melted
For the Cheesecake Filling:
- 8 oz cream cheese, softened
- ½ cup creamy cookie butter (like Biscoff spread), melted slightly if too firm
- ¼ cup powdered sugar
- ½ tsp vanilla extract
- 1 cup heavy cream, cold
For Garnish (Optional):
- Extra whipped cream
- Additional crushed Biscoff cookies or cookie butter drizzle
Directions to Follow
- Prepare the Crust: In a medium bowl, combine the crushed Biscoff cookies and melted butter. Mix until well combined and resembles wet sand.
- Form the Cups: Line a 12-cup muffin tin with paper liners. Divide the cookie mixture evenly among the liners, pressing it firmly into the bottom of each to form a crust. You can use the back of a spoon or a small glass for this. Place the muffin tin in the refrigerator while you prepare the filling.
- Make the Cheesecake Filling: In a large bowl, beat the softened cream cheese with an electric mixer on medium speed until smooth and creamy, about 1-2 minutes.
- Add Cookie Butter: Add the slightly melted cookie butter, powdered sugar, and vanilla extract to the cream cheese. Beat on medium speed until fully incorporated and smooth, scraping down the sides of the bowl as needed.
- Whip the Cream: In a separate, clean bowl, beat the cold heavy cream on high speed until stiff peaks form. Be careful not to overbeat.
- Combine: Gently fold the whipped cream into the cream cheese and cookie butter mixture until no white streaks remain. Be gentle to maintain the airiness of the whipped cream.
- Fill the Cups: Spoon or pipe the cheesecake filling evenly over the prepared crusts in the muffin tin.
- Chill: Refrigerate the Cookie Butter Cheesecake Cups for at least 4 hours, or preferably overnight, until firm.
- Serve: Once firm, carefully remove the cheesecake cups from the muffin tin. Garnish with extra whipped cream, a sprinkle of crushed Biscoff cookies, or a drizzle of melted cookie butter, if desired, just before serving.
Best Ways to Enjoy It
These Cookie Butter Cheesecake Cups are a dessert all on their own, a perfect individual treat. However, to elevate the experience, consider serving them alongside a simple cup of coffee or a gourmet tea. They’d also be lovely at a brunch spread or as part of a dessert buffet. For an extra touch of decadence, a few fresh raspberries or a light dusting of cocoa powder can add a beautiful visual contrast and a hint of fruity or bitter notes that complement the sweet cookie butter perfectly.
Keeping Leftovers Fresh
These cheesecake cups are best enjoyed within 3-4 days. Store them in an airtight container in the refrigerator to keep them fresh and prevent them from absorbing other fridge odors. If you want to prepare them further in advance, they also freeze beautifully! Place the unfrozen cups on a baking sheet and freeze until solid, then transfer them to an airtight freezer-safe container or bag. They can be frozen for up to 1 month. To thaw, simply move them to the refrigerator overnight or for a few hours until softened.
Helpful Cooking Tips
- Soften Cream Cheese Properly: For a super-smooth, lump-free filling, ensure your cream cheese is truly at room temperature. Take it out of the fridge an hour or two before you plan to start.
- Don’t Overmix: When folding in the whipped cream, be gentle! Overmixing can deflate the cream, leading to a denser cheesecake rather than a light and airy one.
- Chill Time is Key: Resist the temptation to serve them too soon. A proper chill time (at least 4 hours, but overnight is better) is crucial for the cheesecake to set up perfectly.
- Melt Cookie Butter (if needed): If your cookie butter is very firm, microwave it in short 15-second bursts, stirring between each, until it’s a pourable consistency. This helps it blend smoothly into the cream cheese.
Creative Twists
- Chocolate Lover’s Dream: Add 2 tablespoons of cocoa powder to the cheesecake mixture for a mocha-cookie butter swirl, or drizzle with melted dark chocolate before serving.
- Spiced Up: A tiny pinch of ground cinnamon or nutmeg in the filling can enhance the warm spice notes already present in the Biscoff.
- Different Crusts: While Biscoff is ideal, feel free to experiment with other cookie crusts like graham crackers, gingersnaps, or even chocolate wafers for a different flavor profile.
- Mini Pie Style: Instead of muffin liners, press the crust into small ramekins for mini ‘cheesecake pies.’
FAQ
Can I make these without Biscoff cookies?
Yes! While Biscoff cookies and spread are what give these their signature “cookie butter” flavor, you can definitely adapt. You could use graham cracker crumbs for the crust and a different nut butter (like almond butter or peanut butter) in the filling, though the flavor profile would obviously change. Look for other brands of speculoos cookies and spreads if Biscoff isn’t available.
How far in advance can I make these?
You can prepare these Cookie Butter Cheesecake Cups up to 2-3 days in advance and keep them stored in an airtight container in the refrigerator. In fact, they often taste even better the second day once the flavors have had more time to meld.
Is melted butter necessary for the crust?
Yes, the melted butter acts as a binder for the crushed cookies, helping them stick together and form a firm crust. Without it, your crust might be too crumbly and fall apart when you try to eat the cups.
Indulgent No-Bake Cookie Butter Cheesecake Cups
Equipment
- medium bowl
- 12-cup muffin tin
- paper liners
- electric mixer
- large bowl
- separate chilled bowl
- spoon
- microwave (optional)
- toothpick (optional)
Ingredients
For the Cookie Crust:
- 1 ½ cups crushed Biscoff cookies (or other speculoos/ginger cookies) about 180g
- ¼ cup unsalted butter, melted 55g
For the Cookie Butter Cheesecake Filling:
- 8 oz cream cheese, softened 226g
- ½ cup cookie butter (e.g., Biscoff spread), at room temperature 120g
- ½ cup granulated sugar 100g
- 1 tsp vanilla extract
- 1 ½ cups heavy cream, chilled 360ml
For the Topping (Optional):
- ¼ cup cookie butter, melted 60g
Instructions
Prepare the Crust
- Combine crushed Biscoff cookies and melted butter in a medium bowl until well mixed.
Form the Bases
- Line a 12-cup muffin tin with paper liners; divide the cookie crumb mixture evenly and press firmly into the bottom. Refrigerate while preparing the filling.
Make the Cheesecake Filling
- Beat softened cream cheese, ½ cup cookie butter, granulated sugar, and vanilla extract in a large bowl with an electric mixer until smooth and creamy.
Whip the Cream
- In a separate chilled bowl, whip the cold heavy cream until stiff peaks form.
Combine
- Gently fold the whipped cream into the cookie butter cream cheese mixture until light, airy, and no streaks remain; do not overmix.
Fill the Cups
- Spoon or pipe the cheesecake filling evenly over the cookie crusts in each muffin cup and smooth the tops.
Add Topping (Optional)
- If desired, gently melt ¼ cup of cookie butter in the microwave until pourable, then drizzle or swirl it over the tops of the cheesecake cups.
Chill
- Refrigerate the cheesecake cups for at least 4 hours, or preferably overnight, until firm and set.
Serve
- Remove cups from the muffin tin and peel away paper liners just before serving.