The first time I attempted a cheesecake without turning on the oven, I was skeptical. Could it really achieve that rich, tangy creaminess without the fuss of a water bath or the worry of cracks? The answer, I quickly discovered, was a resounding yes! This No-Bake Cheesecake isn’t just easy; it’s a revelation, delivering a silky smooth dessert that’s perfect for any occasion, especially when you want something impressive without the culinary gymnastics.
Why This Cheesecake Will Become Your Go-To Dessert
There’s a reason this particular No-Bake Cheesecake has earned a permanent spot in my recipe rotation. For starters, it’s incredibly quick to assemble, making it an ideal choice for busy weeknights when you still crave something sweet and satisfying. You also sidestep all the common pitfalls of baked cheesecakes—no cracking, no sinking, just pure, unadulterated perfection. Plus, it’s endlessly adaptable, providing a fantastic base for all sorts of flavor experiments. Imagine whipping this up for a last-minute dinner party or a summer potluck; it chills beautifully and travels well, always earning rave reviews.
> “I was blown away by how easy and delicious this No-Bake Cheesecake was! It tasted like it came from a fancy bakery, but I made it in my own kitchen in no time. Definitely a keeper!” – A satisfied home baker
The Cooking Process Explained
Creating this dreamy No-Bake Cheesecake might sound intimidating, but it’s remarkably straightforward. You’ll start by crushing cookies for the base, mixing them with melted butter, and pressing them into your pan. Next, the star filling comes together in just one bowl: cream cheese, sugar, and vanilla are whipped until fluffy, then gently folded with heavy cream and a touch of lemon juice for that signature tang. The mixture is then poured over the crust and left to chill until firm. That’s it! No oven, no complex techniques, just delightful results.
What You’ll Need
To whip up this delightful dessert, gather these essential items:
- For the Crust:
- 1 ½ cups graham cracker crumbs: About 10-12 full-sized graham crackers, finely crushed. You can also use digestive biscuits, vanilla wafers, or even oreo crumbs for a chocolate twist.
- ¼ cup granulated sugar: Enhances the sweetness of the crust.
- ½ cup unsalted butter, melted: Binds the crumbs together, ensuring a firm base.
- For the Filling:
- 2 (8-ounce) blocks cream cheese, softened: Full-fat cream cheese works best for the richest, creamiest texture. Make sure it’s at room temperature to avoid lumps.
- 1 cup powdered sugar: Dissolves easily, preventing a grainy texture.
- 1 teaspoon vanilla extract: Essential for that classic cheesecake flavor.
- 2 tablespoons fresh lemon juice: Brightens the flavor and cuts through the richness. Don’t skip it!
- 1 ¾ cups heavy cream, very cold: Whipped separately to create that light, airy texture.
Directions to Follow
Let’s get this cheesecake made!
- Prepare the Crust: In a medium bowl, combine the graham cracker crumbs and granulated sugar. Pour in the melted butter and stir until all crumbs are moistened. Press the mixture firmly into the bottom of a 9-inch springform pan. Use the back of a spoon or a flat-bottomed glass to ensure an even, compact layer. Place the crust in the freezer while you prepare the filling.
- Whip the Heavy Cream: In a large, chilled bowl, beat the very cold heavy cream with an electric mixer on high speed until stiff peaks form. Be careful not to overbeat, as it can turn grainy. Set aside.
- Make the Cream Cheese Base: In a separate large bowl, beat the softened cream cheese, powdered sugar, vanilla extract, and lemon juice with an electric mixer on medium speed until smooth and creamy, about 2-3 minutes. Make sure there are no lumps.
- Combine Filling Components: Gently fold the whipped heavy cream into the cream cheese mixture until just combined. Be careful not to deflate the cream; use a spatula and a light hand.
- Assemble and Chill: Pour the cheesecake filling over the chilled crust in the springform pan and spread evenly with an offset spatula. Cover loosely with plastic wrap and refrigerate for at least 6 hours, or preferably overnight, until firm.
- Serve: Once firm, carefully remove the sides of the springform pan. Slice with a sharp knife dipped in hot water and wiped clean between cuts for neat slices.
Best Ways to Enjoy It
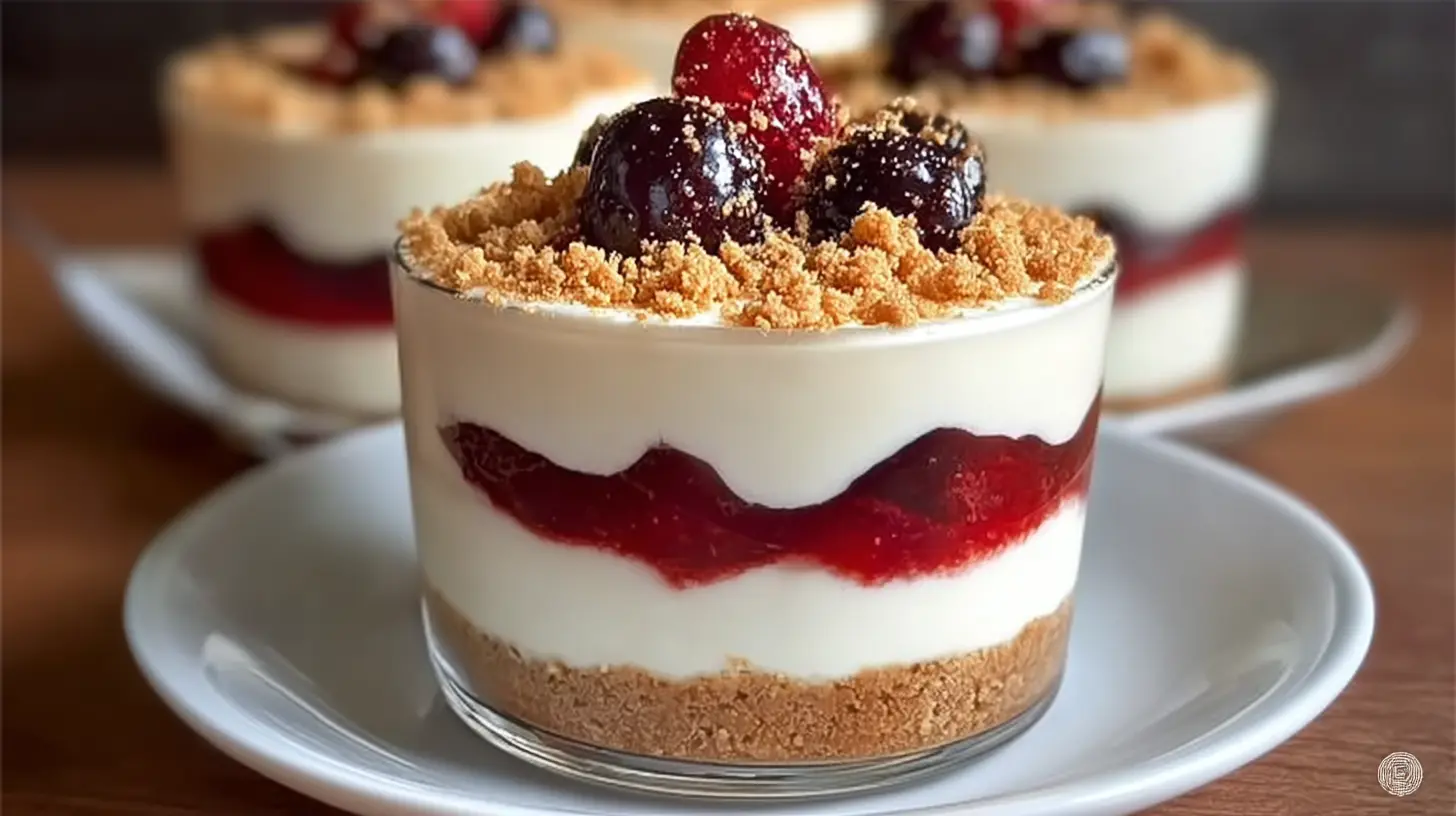
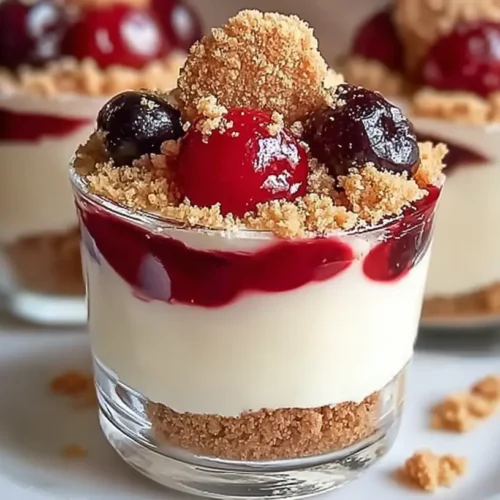
This No-Bake Cheesecake is wonderful all on its own, but it truly shines with a few thoughtful additions. For a classic presentation, a handful of fresh berries like strawberries, blueberries, or raspberries add a burst of color and a lovely tart contrast. A simple drizzle of chocolate ganache or caramel sauce elevates it for a more indulgent treat. During the holidays, I love to top it with a spiced apple compote. You could also serve individual slices with a dollop of extra whipped cream and a sprinkle of toasted nuts for added texture.
Keeping Leftovers Fresh
Proper storage is key to enjoying your cheesecake for days. Once the cheesecake has set, transfer any leftovers, still in the springform pan or carefully sliced, to an airtight container. It will keep beautifully in the refrigerator for up to 4-5 days.
For longer storage, this cheesecake freezes surprisingly well! Once fully chilled and firm, you can freeze the entire cheesecake (without toppings) by wrapping it tightly in several layers of plastic wrap, then a layer of aluminum foil. It can be frozen for up to 1 month. To serve, transfer it to the refrigerator to thaw overnight. Avoid thawing at room temperature, as this can affect the texture.
Helpful Cooking Tips
- Room Temperature Cream Cheese is Non-Negotiable: Seriously, don’t rush this! Cold cream cheese will result in a lumpy filling. If you’re short on time, remove the cream cheese from its packaging, cut it into smaller cubes, and let it sit for about 30 minutes, or gently microwave it on low power for 10-15 seconds per block.
- Chill Your Bowl for Whipping Cream: A cold bowl and cold heavy cream are crucial for achieving stiff peaks quickly. You can place your mixing bowl and whisk attachment in the freezer for 10-15 minutes before whipping.
- Don’t Overmix: Once you combine the whipped cream with the cream cheese mixture, fold gently. Overmixing can deflate the cream, leading to a denser, less airy cheesecake.
- Patience is a Virtue (for Chilling): While it’s tempting to dig in, resist! The long chill time is essential for the cheesecake to firm up properly and develop its full flavor. An overnight chill is always best.
- Clean Slices: For perfectly clean cheesecake slices, dip your knife in hot water and wipe it dry between each cut. This prevents sticking and ensures a smooth, beautiful edge.
Creative Twists
This No-Bake Cheesecake is a fantastic canvas for flavor experimentation.
- Chocolate Lovers’ Dream: Swap graham crackers for Oreo crumbs in the crust. For the filling, melt 4 ounces of good quality dark chocolate and fold it into the cream cheese mixture.
- Fruity & Fresh: Incorporate ½ cup of fruit puree (like raspberry or mango) into the cream cheese mixture before folding in the whipped cream.
- Lemon Supreme: Increase the lemon juice to ¼ cup and add 1 tablespoon of lemon zest to the cream cheese filling for an extra bright, zesty kick.
- Nutella Swirl: Swirl ¼ cup of warmed Nutella into the finished filling just before pouring it over the crust.
- Pumpkin Spice (Seasonal): Add ½ cup of pumpkin puree and 1-2 teaspoons of pumpkin pie spice to the cream cheese mixture.
Your Questions Answered
Why isn’t my cheesecake firming up?
A: The most common reason for a cheesecake not firming up is usually insufficient chilling time or overmixing the whipped cream, which can prevent it from setting properly. Ensure your heavy cream was very cold before whipping and try to chill it for the full recommended time, preferably overnight. Also, make sure you used full-fat cream cheese, as lower-fat versions can affect the set.
Can I use a different type of crust?
A: Absolutely! Graham cracker crumbs are classic, but you can get creative. Vanilla wafers, digestive biscuits, shortbread cookies, or even pretzel crumbs (for a salty-sweet twist) work wonderfully. Just aim for about 1 ½ cups of finely crushed crumbs.
Is this cheesecake suitable for making ahead for a party?
A: Yes, it’s perfect for making ahead! In fact, it tastes even better the next day after a full night of chilling, as the flavors have time to meld and the texture becomes perfectly firm. You can make it 1-2 days in advance and keep it covered in the refrigerator.
Decadent No-Bake Vanilla Cheesecake
Equipment
- medium bowl
- 9-inch pie dish or springform pan
- electric mixer
- large mixing bowl
- separate, very cold bowl
- spatula
- plastic wrap
Ingredients
For the Crust
- 1 ½ cups digestive biscuits (or graham crackers) finely crushed
- ¼ cup granulated sugar
- ½ cup unsalted butter melted
For the Filling
- 2 blocks cream cheese full-fat, softened to room temperature
- 1 cup powdered sugar (confectioners’ sugar)
- 1 teaspoon vanilla extract
- 1 cup heavy cream very cold
- Pinch salt
Instructions
Prepare the Crust
- Combine crushed biscuits, granulated sugar, and melted butter; mix thoroughly until moistened. Press the mixture firmly into a 9-inch pie dish or springform pan and chill in the refrigerator for 10-15 minutes.
Make the Filling Base
- Beat softened cream cheese until smooth, then add powdered sugar, vanilla extract, and a pinch of salt. Beat until combined, then increase speed to medium until light and fluffy, scraping the bowl as needed.
Whip the Cream
- In a separate, very cold bowl, beat cold heavy cream on high speed until stiff peaks form, being careful not to overbeat.
Combine and Chill
- Gently fold the whipped cream into the cream cheese mixture until just combined and smooth. Spoon the filling over the chilled crust, cover, and refrigerate for at least 4 hours or overnight until firm.