Table of Contents

Introduction
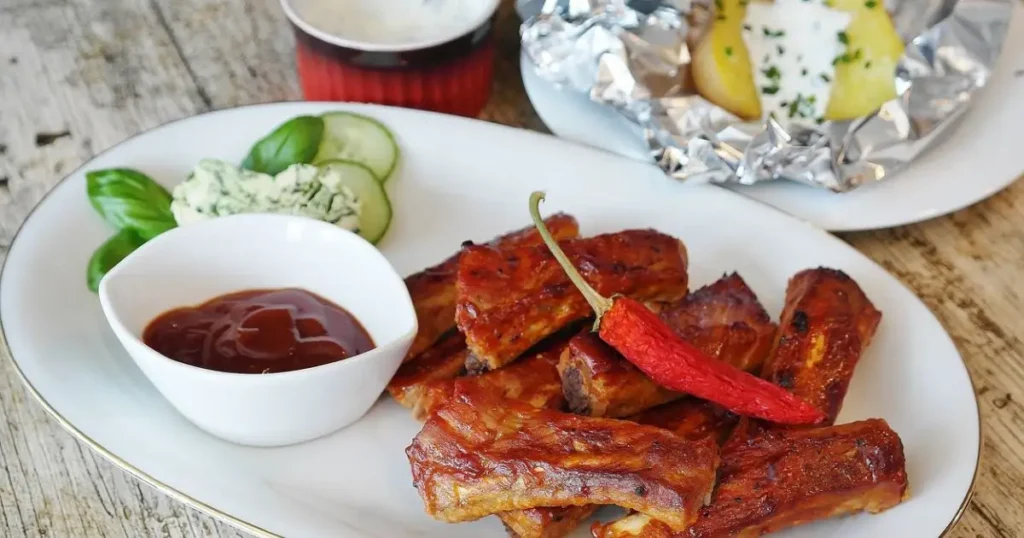
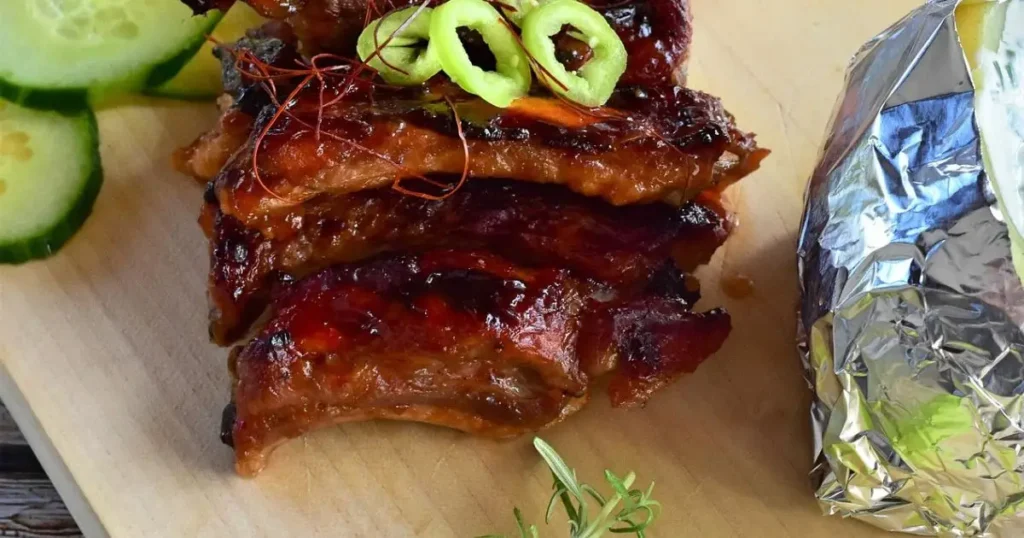
There’s something wonderfully satisfying about a plate of tender, flavorful beef short ribs that have been slow-cooked in the oven. If you’re new to cooking or looking for an easy recipe to impress your guests, you’re in the right place! This guide will walk you through each step of preparing delicious oven-baked beef short ribs that are full of flavor and incredibly tender.
In this beginner-friendly recipe, you’ll learn everything you need to know, from choosing the right ribs and seasoning them to achieving that perfect fall-off-the-bone texture. Let’s dive into the basics and turn your kitchen into a place where restaurant-quality short ribs are made with ease.
Section 1: Understanding Beef Short Ribs
What Are Beef Short Ribs?
Beef short ribs come from the rib section of the cow and are known for their rich, beefy flavor. These ribs have layers of meat, marbling, and connective tissue that break down into a tender and juicy texture during slow cooking, making them perfect for baking in the oven.
Types of Beef Short Ribs
When shopping for beef short ribs, you’ll come across two main cuts:
- English Cut: This cut is thick and meaty, with ribs cut parallel to the bone. It’s ideal for slow, moist cooking methods like braising or oven baking, as the thicker meat stays juicy and tender.
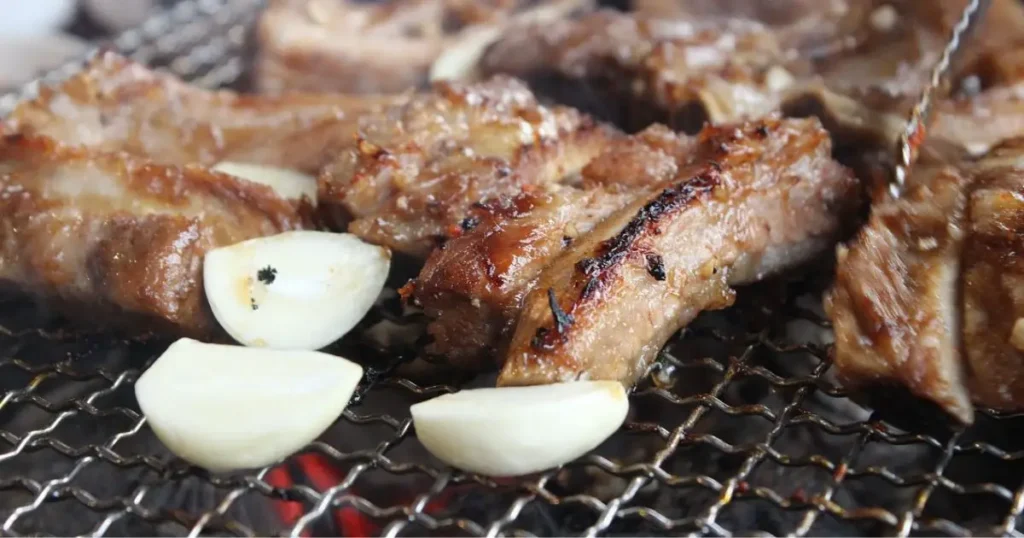
- Flanken Cut: Flanken cut short ribs are cross-cut with thin pieces of bone, usually 1/2-inch thick. They cook more quickly and are often used for grilling, but they also work well in the oven with a shorter cook time.
Both cuts can create a delicious meal, but for this oven-baked recipe, the English cut is highly recommended as it provides more meat and is best suited for low-and-slow cooking.
Why Short Ribs Are Ideal for Beginners
Beef short ribs are relatively forgiving and become tender with minimal attention, making them perfect for beginners. The oven’s consistent heat provides an easy cooking environment, so you can achieve rich flavors without advanced culinary skills. Plus, this recipe is versatile—you can try different seasonings and sauces to make it your own.
Section 2: Ingredients and Tools for Oven-Baked Beef Short Ribs
Gather Your Ingredients and Tools
Before you begin, it’s essential to have the right ingredients and tools on hand to make the process smooth and enjoyable.
- Essential Ingredients:
- Beef Short Ribs: Look for ribs with good marbling. The fat within the meat will break down as it cooks, adding flavor and tenderness.
- Salt and Pepper: Simple but essential seasonings that enhance the natural flavors of the meat.
- Garlic and Onions: Aromatic vegetables that add depth to the braising liquid, enhancing the flavor of the ribs.
- Beef Broth: Adds moisture and intensifies the beef flavor during cooking.
- Optional Add-ins: Red wine or Worcestershire sauce for a rich, complex flavor, and fresh herbs like rosemary and thyme for an aromatic finish.
- Basic Tools Needed:
- Dutch Oven or a heavy baking dish with a lid, ideal for even heat distribution.
- Foil if you don’t have a Dutch oven lid, to cover and keep the moisture in.
- Basting Brush to apply any finishing glaze or sauce.
- Meat Thermometer to ensure the ribs reach the right temperature for ultimate tenderness.
With the right ingredients and tools, you’re all set for a successful, delicious meal.
Section 3: Preparing the Short Ribs
How to Prepare Beef Short Ribs for the Oven
To make sure your ribs come out flavorful and tender, preparation is key. Here’s how to get your short ribs ready for the oven:
- Trim Excess Fat: Check each rib for any large pieces of excess fat and trim them. While some fat is essential for flavor and juiciness, too much can make the dish overly greasy. Aim to keep a thin layer for flavor but remove any thick pieces.
- Season Generously: Start with salt and pepper as a base seasoning. This simple seasoning brings out the natural beefy flavor of the ribs. You can also add other spices, such as paprika and garlic powder, for extra depth.
- Optional Marination: If you have time, consider marinating the ribs for 30 minutes to overnight. A mix of red wine, soy sauce, or Worcestershire sauce works well for marinating and can bring a robust flavor to the final dish.
- Seasoning Combinations for Added Flavor:
- Classic: Salt, pepper, garlic powder, and paprika.
- BBQ Style: Salt, pepper, brown sugar, chili powder, and cumin.
- Asian-Inspired: Soy sauce, garlic, ginger, and a touch of brown sugar.
- Seasoning Combinations for Added Flavor:
Proper preparation enhances the flavor and texture of your beef short ribs, ensuring every bite is delicious.
Section 4: Searing the Short Ribs (Optional)
Sear the Ribs for Extra Flavor
Searing the short ribs before baking them in the oven is an optional step, but it can add a lot of flavor. When seared, the ribs develop a caramelized crust that enhances the overall taste of the dish.
- Why Searing is Important: Searing creates a crust on the outside of the ribs, which helps lock in moisture and adds a savory, caramelized flavor layer that makes the final dish even more delicious.
- How to Sear Properly:
- Heat a skillet over medium-high heat and add a small amount of oil until it shimmers.
- Place the short ribs in the pan without crowding them. Sear each side for 2-3 minutes until browned, using tongs to handle the ribs.
- Remove the ribs from the skillet and set them aside on a plate.
- Tips for Perfect Searing:
- Pat the Ribs Dry: Drying the ribs with a paper towel before searing helps achieve a better crust by reducing excess moisture.
- Use a Cast Iron Skillet: Cast iron retains heat well and is ideal for achieving an even, caramelized sear.
Searing takes only a few extra minutes, but the result is a richer, more complex flavor that’s well worth the effort.

Section 5: Cooking Beef Short Ribs in the Oven
Baking Short Ribs in the Oven for Tender Results
Now that your short ribs are trimmed, seasoned, and optionally seared, it’s time to bake them in the oven for that melt-in-your-mouth texture. This section will guide you through creating a delicious braising liquid and setting the right temperature to ensure perfect results.
- Creating a Braising Liquid:
- A flavorful braising liquid keeps the short ribs moist as they cook, infusing them with rich flavors.
- In your Dutch oven or heavy baking dish, combine beef broth, a splash of red wine (optional), and aromatics like garlic, onions, rosemary, and thyme. This combination brings out the natural richness of the meat.
- If you prefer a more intense flavor, add a teaspoon of Worcestershire sauce or a tablespoon of soy sauce.
- Setting the Oven Temperature:
- For tender short ribs, slow cooking at a low temperature is key. Preheat your oven to 300°F (150°C). This low and steady heat allows the connective tissue to break down gradually, resulting in a juicy, pull-apart texture.
- Baking Instructions:
- Place the seared (or unseared) ribs in the baking dish with the braising liquid. Arrange the ribs in a single layer to ensure they cook evenly.
- Cover the dish with a tight-fitting lid or foil to retain moisture and prevent the ribs from drying out.
- Bake for 2.5 to 3 hours, checking periodically to ensure the liquid doesn’t dry up. If it begins to reduce too much, add a little more broth.
- Recommended Cooking Time:
- At 300°F, beef short ribs should take about 2.5 to 3 hours to become fully tender. You’ll know they’re done when you can easily pull the meat away from the bone with a fork.
This slow-cooking method creates incredibly tender ribs, with meat that’s infused with the flavors of the braising liquid.
Section 6: How to Tell When Beef Short Ribs Are Done
Knowing When Your Short Ribs Are Ready
Perfectly cooked short ribs are juicy, flavorful, and tender enough to pull apart with a fork. Here’s how to tell when your ribs are done:
- Signs of Doneness:
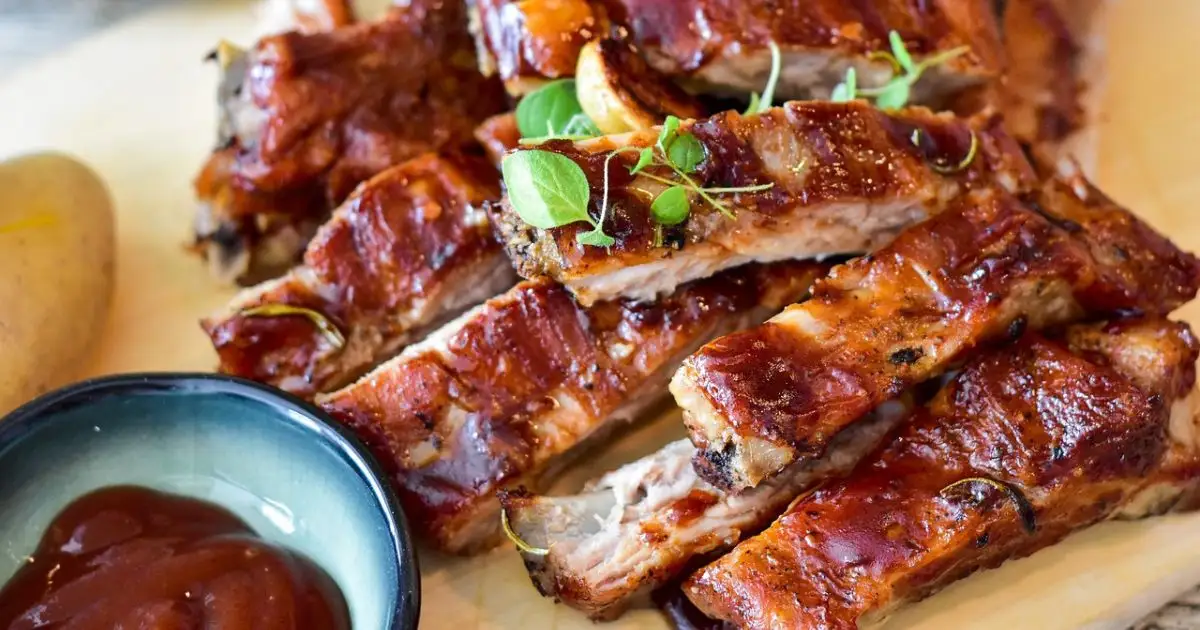
- The meat should look rich and moist, with a caramelized surface.
- When tested with a fork, the meat should pull away easily from the bone. If it still feels firm, return the ribs to the oven for another 15-20 minutes and check again.
- Using a Meat Thermometer:
- While short ribs don’t require a precise internal temperature, they should reach at least 190°F (88°C) for maximum tenderness. This temperature ensures that the connective tissues have broken down, resulting in tender, flavorful meat.
- Visual and Textural Cues:
- Look for a deep color on the surface, and check that the braising liquid has reduced slightly but remains enough to coat the ribs.
These tips will help ensure your short ribs are cooked perfectly, ready to serve when they reach peak tenderness.
Section 7: Finishing Touches for Flavorful Beef Short Ribs
Adding the Perfect Finishing Touch
Once your ribs are fully cooked, a few final steps can take them to the next level, adding flavor and a beautiful appearance.
- Optional Glazing:
- To add an extra layer of flavor, brush the ribs with a finishing glaze, such as BBQ sauce, honey, or a balsamic reduction. Apply this during the last 15 minutes of cooking to allow the glaze to caramelize slightly.
- Brush on a thin layer, and let the ribs cook uncovered for those last few minutes to develop a sticky, flavorful coating.
- Broiling for Crispiness:
- For a bit of crispy texture on the surface, place the ribs under the broiler for 2-3 minutes after they’ve finished baking. Keep an eye on them to prevent burning, as the broiler can heat up quickly.
- This step is optional but adds a delicious caramelized finish that balances beautifully with the tender meat.
- Resting the Ribs:
- Allow the ribs to rest for 5-10 minutes after taking them out of the oven. This short resting period helps the juices redistribute, ensuring each bite is moist and flavorful.
These finishing touches give your beef short ribs an extra depth of flavor and a polished presentation, making them even more enjoyable to serve and eat.
Section 8: Serving Suggestions for Beef Short Ribs
What to Serve with Beef Short Ribs
To complement the rich flavors of beef short ribs, choose side dishes that add balance and variety to your meal.
- Classic Side Pairings:
- Mashed Potatoes: Creamy mashed potatoes are a perfect choice, absorbing the braising liquid and balancing the richness of the ribs.
- Roasted Vegetables: Try roasted carrots, parsnips, or Brussels sprouts for a comforting, earthy side dish.
- Creamy Polenta: A smooth polenta base pairs wonderfully with the tender texture of short ribs.
- Healthier Options:
- Mixed Green Salad: A simple green salad with a light vinaigrette provides a fresh contrast to the heaviness of the ribs.
- Steamed Green Beans: Lightly steamed green beans add color and a touch of crunch, complementing the ribs without overwhelming them.
- Cauliflower Mash: For a lower-carb option, swap mashed potatoes with creamy cauliflower mash.
- Sauces and Condiments:
- Horseradish Cream: The sharpness of horseradish cream cuts through the richness of the ribs and adds a zesty flavor.
- Chimichurri: This vibrant, herbaceous sauce adds a bright contrast to the savory, tender meat.
- Herb Butter: A dollop of herb butter melted over the ribs adds richness and a hint of fresh herbs.
These serving ideas create a complete meal that’s sure to impress and delight your guests.
Section 9: Storing and Reheating Beef Short Ribs
How to Store and Reheat Leftover Short Ribs
If you have leftover short ribs, they’re easy to store and reheat for another delicious meal. Here’s how:
- Proper Storage:
- Allow the ribs to cool completely before storing them. Place them in an airtight container along with some of the braising liquid to keep them moist.
- Store in the refrigerator for up to 3 days, or freeze for up to 3 months.
- Reheating Tips:
- In the Oven: Preheat the oven to 300°F. Place the ribs in an oven-safe dish with some braising liquid, cover with foil, and reheat for 20-25 minutes until warmed through.
- On the Stovetop: Place the ribs in a skillet with some of the braising liquid, cover, and heat over medium-low until warmed.
- Freezing Tips:
- Short ribs freeze well, making them a great option for make-ahead meals. Simply place the ribs and some braising liquid in a freezer-safe container. Thaw overnight in the refrigerator before reheating.
Proper storage and reheating help maintain the quality of your short ribs, so you can enjoy them as much the next day as you did fresh from the oven.

Conclusion
Cooking beef short ribs in the oven is a rewarding experience that delivers a rich, hearty meal perfect for any occasion. This easy, beginner-friendly recipe allows you to enjoy fall-off-the-bone ribs with minimal fuss, creating a restaurant-quality dish right in your own kitchen.
Call to Action
Try this recipe for your next family dinner or gathering, and let us know how it turned out! Whether you followed the recipe exactly or added your own twist, we’d love to hear your feedback in the comments. For more delicious recipes and tips, don’t forget to subscribe to our newsletter and follow us on social media.

