The aroma of a bubbling, golden-brown casserole dish, rich with creamy pasta and melted cheese, instantly transports me back to my grandmother’s kitchen. For so many of us, baked mac and cheese isn’t just a side dish; it’s a hug in food form, a centerpiece of holiday tables, and the ultimate comfort during a chilly evening. But let’s be honest, not all baked mac and cheese recipes deliver on that promise of pure, unadulterated deliciousness. If you’ve been on a quest for the perfect, unbelievably creamy, and deeply flavorful baked mac and cheese, your search ends here.
Why You’ll Love This Dish
This isn’t just another rendition of a classic; it’s the rendition designed to elevate your mac and cheese game. You’ll love this recipe because it’s engineered for maximum flavor and an incredibly desirable texture – no dry, pasty, or bland results here! It’s perfect for a cozy family dinner, a potluck where you want to seriously impress, or even as a special treat for yourself after a long week. What makes it stand out is the careful selection of cheeses that melt beautifully and provide a complex flavor profile, combined with a method that ensures every bite is lusciously smooth.
> “I used to struggle with baked mac and cheese turning out dry, but this recipe is a game-changer! So creamy and the topping is perfect. Everyone raves about it now.” – A happy home cook
The Cooking Process Explained
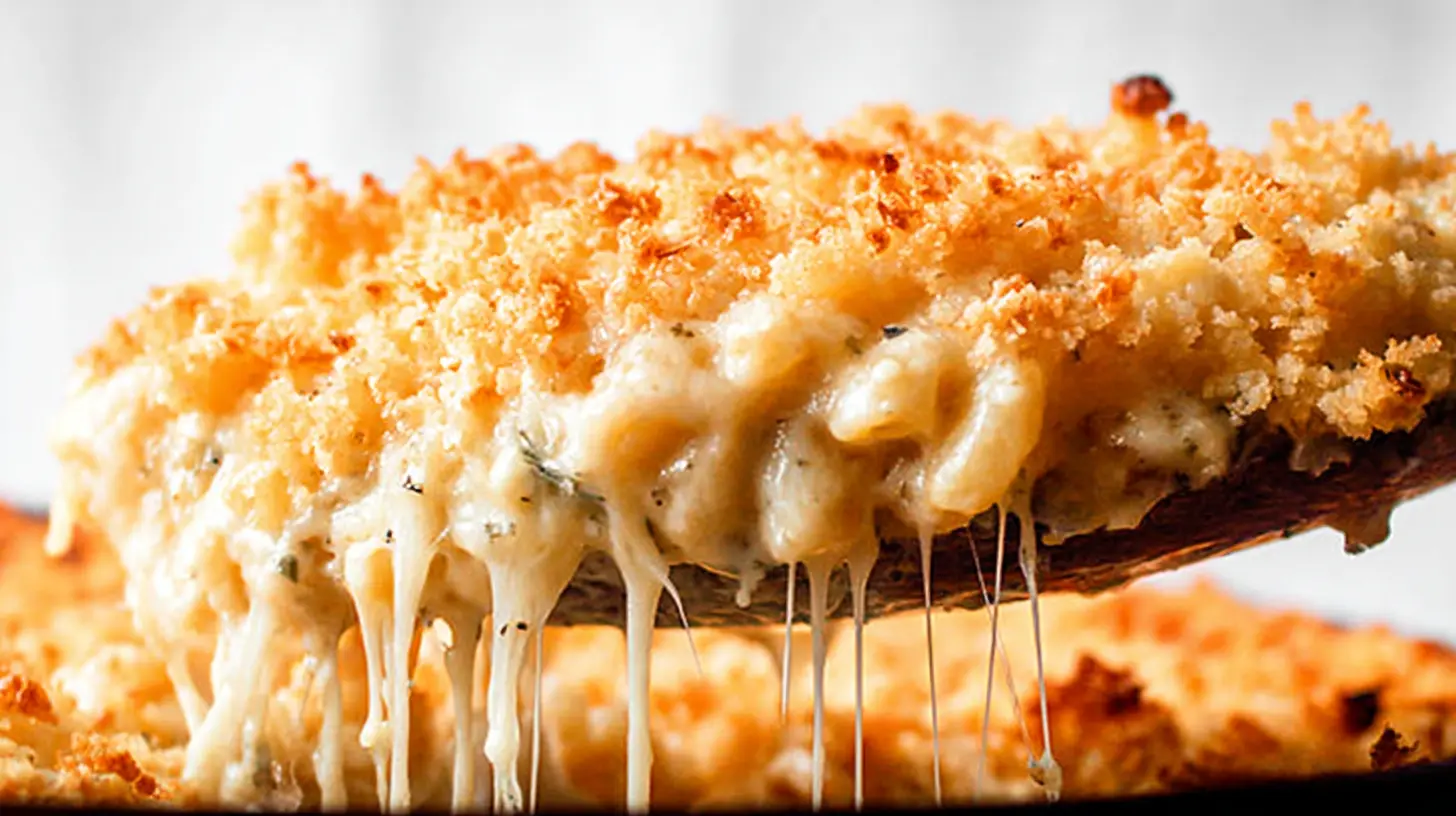
Making exceptional baked mac and cheese involves a few key stages that build upon each other to create that irresistible final product. First, you’ll cook your pasta to a perfect al dente. Next, a roux—a simple mixture of butter and flour—forms the base of your rich, creamy cheese sauce, preventing that grainy texture some sauces develop. Then, a careful blend of cheeses is stirred in, creating a velvety smooth sauce that coats every single noodle. Finally, it’s all transferred to a baking dish, often topped with more cheese or breadcrumbs for an extra layer of crunch and flavor, and baked until golden and bubbly. The baking process allows the flavors to meld beautifully and the edges to crisp up delightfully.
Key Ingredients
Gather these items for your culinary masterpiece:
- Elbow Macaroni: 1 pound (or other small pasta shape like shells or cavatappi)
- Unsalted Butter: 1/2 cup (1 stick)
- All-Purpose Flour: 1/2 cup
- Whole Milk: 4 cups, warmed (don’t skip warming; it helps prevent lumps)
- Heavy Cream: 1 cup (for extra richness)
- Sharp Cheddar Cheese: 4 cups, freshly grated (about 16 oz)
- Gruyère Cheese: 2 cups, freshly grated (about 8 oz – adds nutty depth)
- Smoked Gouda or Fontina Cheese: 1 cup, freshly grated (for another layer of flavor)
- Cream Cheese: 4 oz, softened (the secret to ultimate creaminess!)
- Dijon Mustard: 1 tablespoon (enhances cheese flavor, doesn’t make it taste like mustard)
- Worcestershire Sauce: 1 teaspoon (adds umami)
- Nutmeg: 1/4 teaspoon, freshly grated (a classic complement to cheese)
- Salt & Freshly Ground Black Pepper: To taste
- Optional Topping: 1 cup Panko breadcrumbs, 2 tablespoons melted butter, 1/2 cup shredded Parmesan cheese
Directions to Follow
- Prep Your Pasta: Preheat your oven to 375°F (190°C). Bring a large pot of salted water to a rolling boil. Add the macaroni and cook according to package directions, but underscook by 1-2 minutes (it will finish cooking in the oven). Drain well and set aside.
- Make the Roux: In a large, heavy-bottomed pot or Dutch oven, melt the butter over medium heat. Once melted, sprinkle in the flour and whisk continuously for 2-3 minutes until a pale golden paste (the roux) forms. This cooks out the raw flour taste.
- Build the Sauce: Gradually whisk in the warm whole milk and heavy cream, a little at a time, ensuring no lumps form. Continue whisking until the sauce begins to thicken and bubble, about 5-7 minutes.
- Add the Cheese: Reduce heat to low. Stir in the softened cream cheese until fully melted and incorporated. Then, gradually add the shredded cheddar, Gruyère, and smoked Gouda (or Fontina), a handful at a time, stirring constantly until fully melted and smooth. Do not let the sauce boil once cheese is added, as it can cause the cheese to separate.
- Flavor Boost: Stir in the Dijon mustard, Worcestershire sauce, and freshly grated nutmeg. Season with salt and pepper to taste, remembering that the cheese itself is salty.
- Combine Pasta & Sauce: Add the drained, slightly undercooked macaroni to the cheese sauce and stir gently until every noodle is thoroughly coated.
- Assemble & Top: Pour the macaroni and cheese mixture into a generously buttered 9×13-inch baking dish. If using a topping, combine Panko breadcrumbs, melted butter, and Parmesan cheese in a small bowl, then sprinkle evenly over the mac and cheese.
- Bake: Bake for 25-30 minutes, or until the mac and cheese is bubbly around the edges and the topping (if used) is golden brown and crispy.
- Rest & Serve: Let the baked mac and cheese rest for 10-15 minutes before serving. This allows the sauce to set slightly, making it even creamier and easier to scoop.
What to Serve It With
Baked mac and cheese is undeniably rich, so pairing it with lighter, contrasting elements can create a beautifully balanced meal. It shines as the star of a casual dinner alongside a crisp, vibrant green salad with a tangy vinaigrette. For a more substantial meal, consider grilled chicken, roasted pork tenderloin, or even a juicy steak. During holidays, it’s a non-negotiable side dish for turkey or ham. A side of steamed green beans or asparagus also provides a nice textural and fresh counterpoint.
Storage and Reheating Tips
This Baked Mac and Cheese is so good, you might not have leftovers! However, if you do, store any remaining portions in an airtight container in the refrigerator for up to 3-4 days.
To reheat, the best method is to gently warm it in a microwave with a splash of milk or cream stirred in to restore moisture, or in an oven preheated to 300°F (150°C) until heated through. Add a foil cover initially to prevent drying, then remove for the last few minutes if you want to crisp up the topping again. Freezing is possible, but the texture of the sauce can sometimes change. If freezing, portion into freezer-safe containers and thaw overnight in the fridge before reheating.
Pro Chef Tips
- Freshly Grate Your Cheese: This is perhaps the most crucial tip. Pre-shredded cheeses are often coated with anti-caking agents (like cellulose) that prevent them from melting smoothly, resulting in a gritty sauce. Grate your own for a truly velvety texture.
- Warm Your Milk: Bringing the milk and cream to room temperature or gently warming it before adding to the roux helps prevent lumps and ensures a smoother sauce.
- Don’t Overcook Pasta: Your pasta should be a minute or two shy of al dente, as it will continue cooking in the oven within the sauce. Overcooked pasta will turn mushy.
- Low Heat for Cheese: When adding the cheese to your sauce, ensure the heat is on low. High heat can cause the cheese to “break” or become oily and grainy.
- Resting is Key: Don’t skip the resting step after baking. It allows the sauce to thicken slightly and settle, making for a much cleaner scoop and a creamier texture.
Creative Twists
Want to put your own spin on this classic? Here are a few ideas:
- Spice It Up: Add a pinch of cayenne pepper, a dash of hot sauce, or finely diced jalapeños (sautéed first if you prefer) to the cheese sauce for a spicy kick.
- Meaty Addition: Cooked and crumbled bacon, diced ham, pulled pork, or shredded chicken can be stirred into the mac and cheese before baking for a heartier meal.
- Vegetable Boost: Stir in some blanched broccoli florets, sautéed mushrooms, or roasted butternut squash for added nutrients and flavor.
- Herbaceous Notes: Fresh herbs like chopped chives or parsley can be folded into the sauce at the end for brightness.
- Cheese Variations: Experiment with other good melting cheeses like provolone, smoked cheddar, or even a touch of spicy pepper jack for a different flavor profile. Just ensure some of your cheese choices are good melters.
Common Questions
Why did my cheese sauce turn out grainy?
A: This is usually due to either using pre-shredded cheese with anti-caking agents or adding the cheese to a sauce that is too hot. Always freshly grate your cheese and ensure the heat is low when incorporating it. Also, avoid bringing the sauce to a full boil once the cheese has been added.
Can I prepare this ahead of time?
A: You can assemble the mac and cheese up to a day ahead of time. Cover it tightly and refrigerate. When ready to bake, let it sit at room temperature for 30 minutes while the oven preheats, then bake as directed, potentially adding an extra 5-10 minutes to the baking time to ensure it’s heated through. For best results, add the breadcrumb topping just before baking to keep it crisp.
What’s the best pasta shape to use for baked mac and cheese?
A: While elbow macaroni is classic, any small, tubular, or shell-shaped pasta works wonderfully as it cradles the cheesy sauce beautifully. Cavatappi, campanelle, or medium shells are all excellent choices.

Classic Baked Mac and Cheese
Equipment
- Large pot
- Dutch oven
- Whisk
- 9×13 inch baking dish
Ingredients
Pasta
- 1 pound elbow macaroni
- ½ cup unsalted butter
Sauce
- ½ cup all-purpose flour
- 4 cups whole milk
- 1 teaspoon dry mustard powder
- ½ teaspoon onion powder
- ¼ teaspoon smoked paprika
- Salt to taste
- Freshly ground black pepper to taste
Cheese
- 4 cups shredded sharp cheddar cheese
- 2 cups shredded Gruyère cheese
- 1 cup grated Parmesan cheese
Topping (Optional)
- ½ cup panko breadcrumbs
- 2 tablespoons melted butter
Instructions
Preparation
- First, cook the macaroni until al dente, drain it well, and set it aside.
- Next, melt ½ cup of butter in a large pot over medium heat, then whisk in the flour for 2-3 minutes to form a light golden roux.
Cheese Sauce
- Gradually whisk in the warm milk until the sauce thickens, which should take about 5-7 minutes.
- Stir in the dry mustard, onion powder, smoked paprika, salt, and pepper, then taste and adjust the seasonings as necessary.
- Remove the pot from the heat and add half of the cheddar, Gruyère, and Parmesan cheeses, stirring until completely melted and smooth.
Assembly and Baking
- Add the cooked macaroni to the cheese sauce and stir to coat evenly; then, pour the mixture into a greased 9×13 inch baking dish.
- Optionally, sprinkle the remaining cheeses over the top, and for a crunchy topping, combine panko breadcrumbs with melted butter and sprinkle over the cheese.
- Bake in a preheated 375°F (190°C) oven for 20-25 minutes, or until bubbly and golden brown, adding 5-10 minutes if using a breadcrumb topping.
- Finally, let the mac and cheese rest for 5-10 minutes before serving.